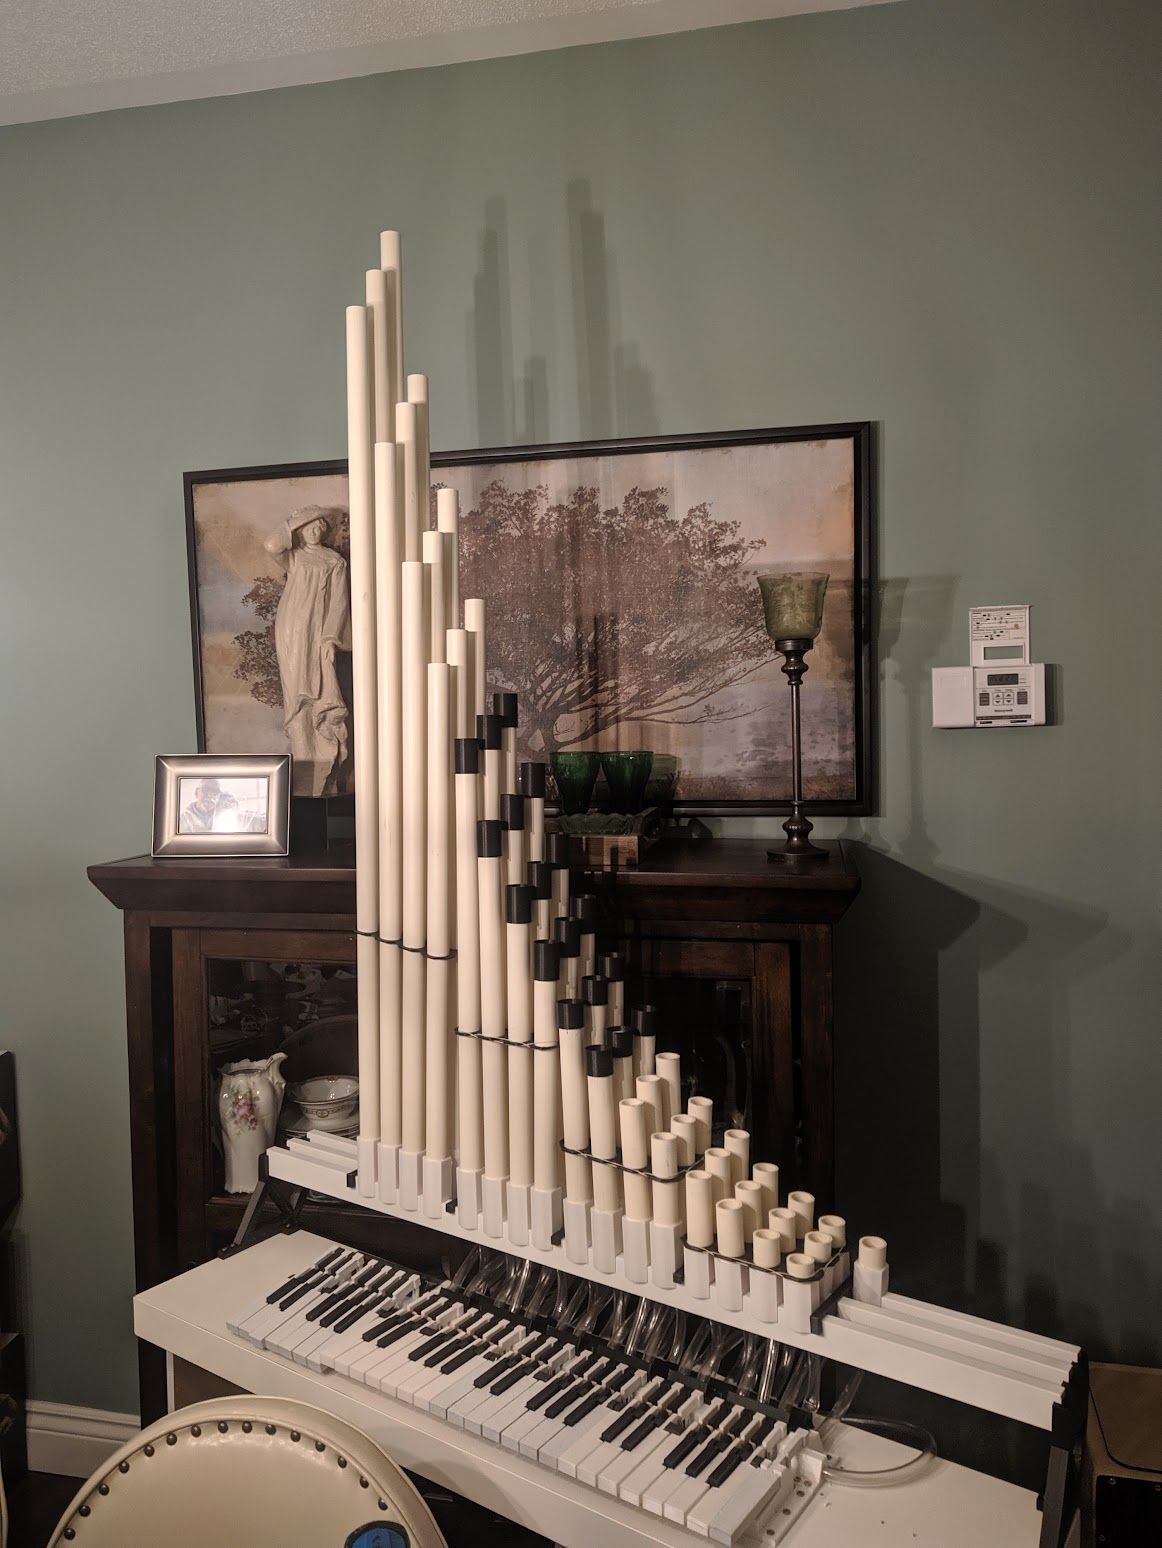
This is a pipe organ I built in the summer of 2023, which is made up of a 3D printed keyboard, PVC pipes with a 3D printed flue to create the vibrations (sound), and two foot pumps to generate the airflow! I wanted to make a pipe organ partly because I absolutely love the movie Interstellar, and a majority of the music from it heavily uses the pipe organ! This project took a lot of work to get right, there was a lot of trial and error and iteration. This was my first purely mechanical/physical project, everything before had some sort of electronics or software. I made a lot of silly mistakes, but that c was all part of the learning process!
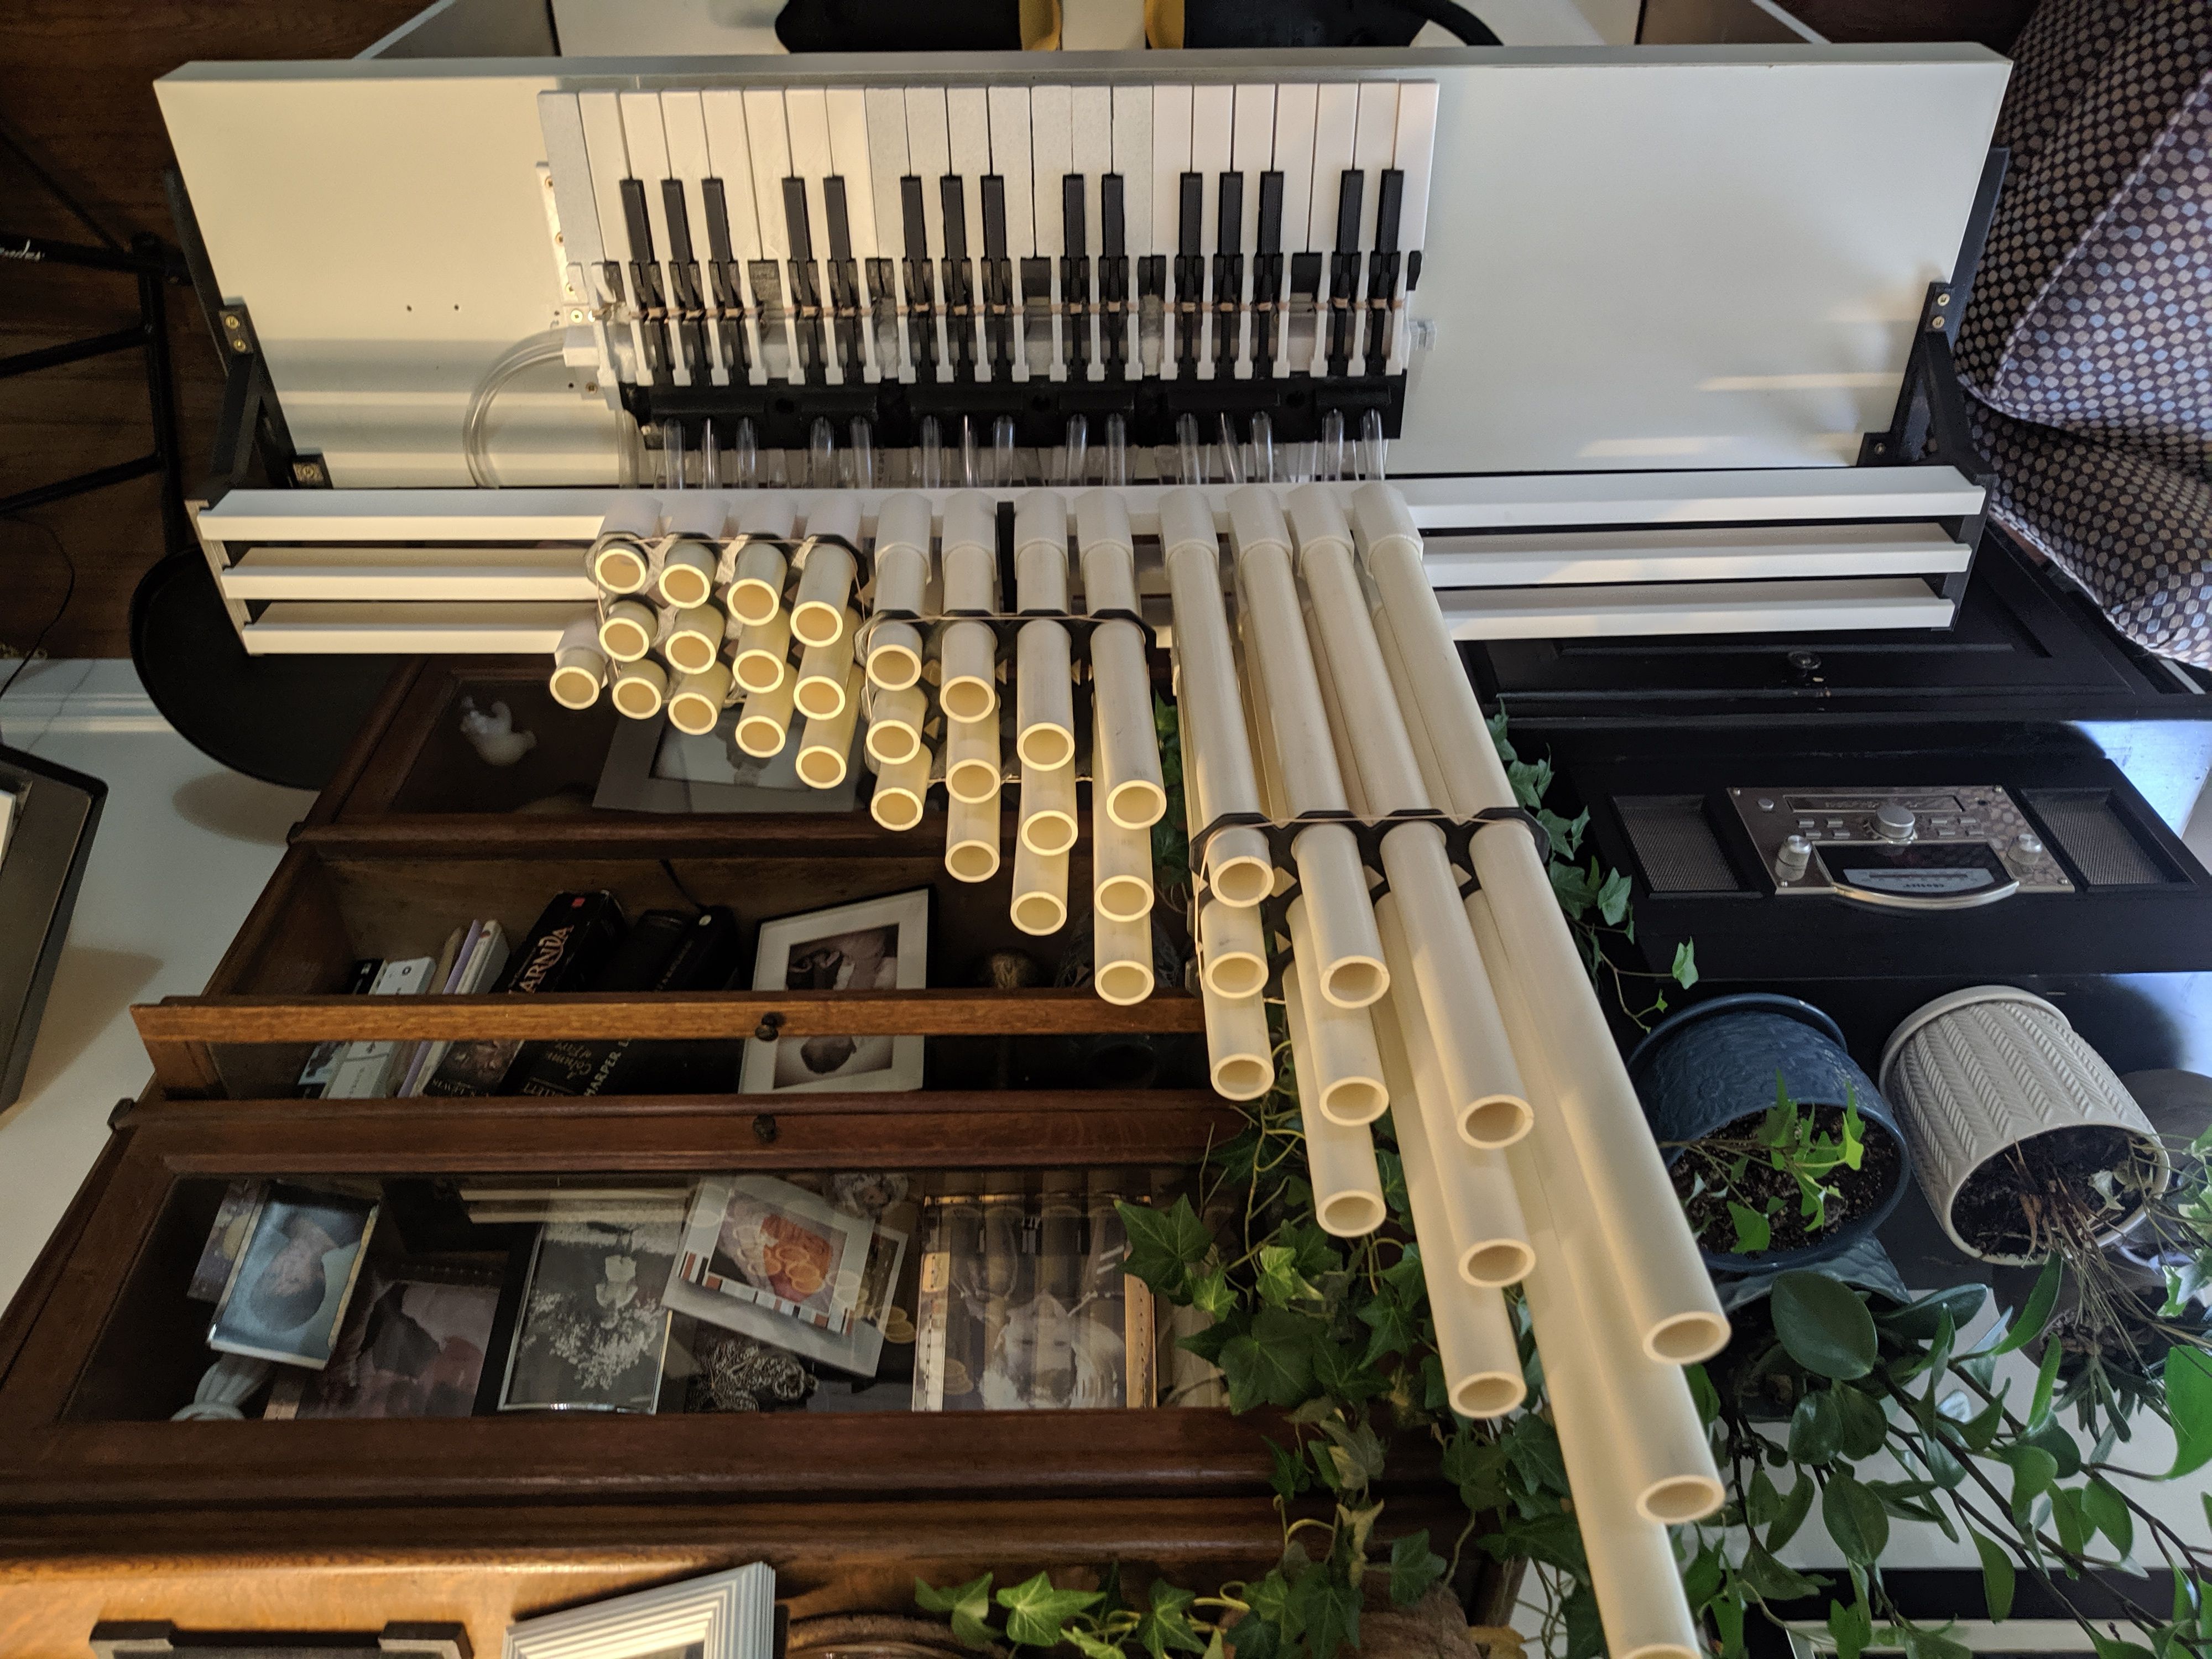
The first thing I started with was the pipes. I figured that if I couldn't get this part working there would be no point in worrying about the rest of the mechanisms including the keyboard and air generation. I originally started trying to make paper tubes, just by rolling up a sheet of paper, but I couldn't get any nice sounds (I think because I had the radius of the tube too small?), so I decided I would give a PVC pipe a try which worked much better, and once I got it working with that, I made an entire octave!
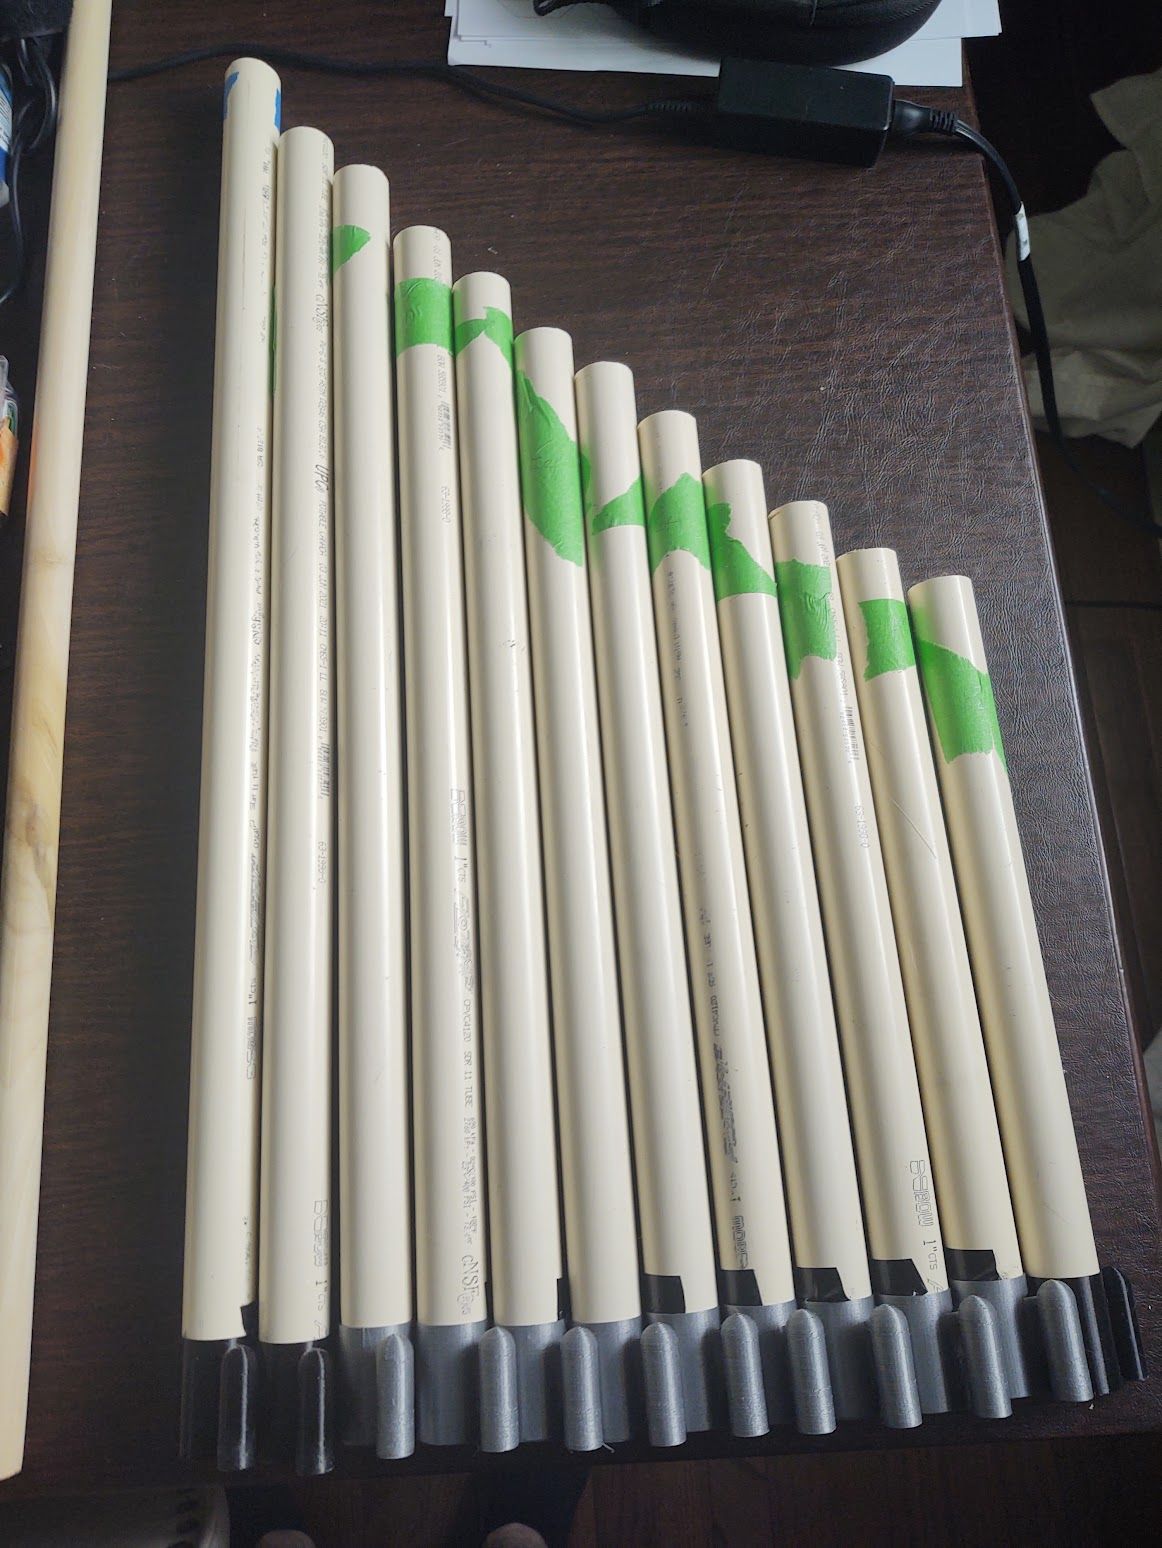
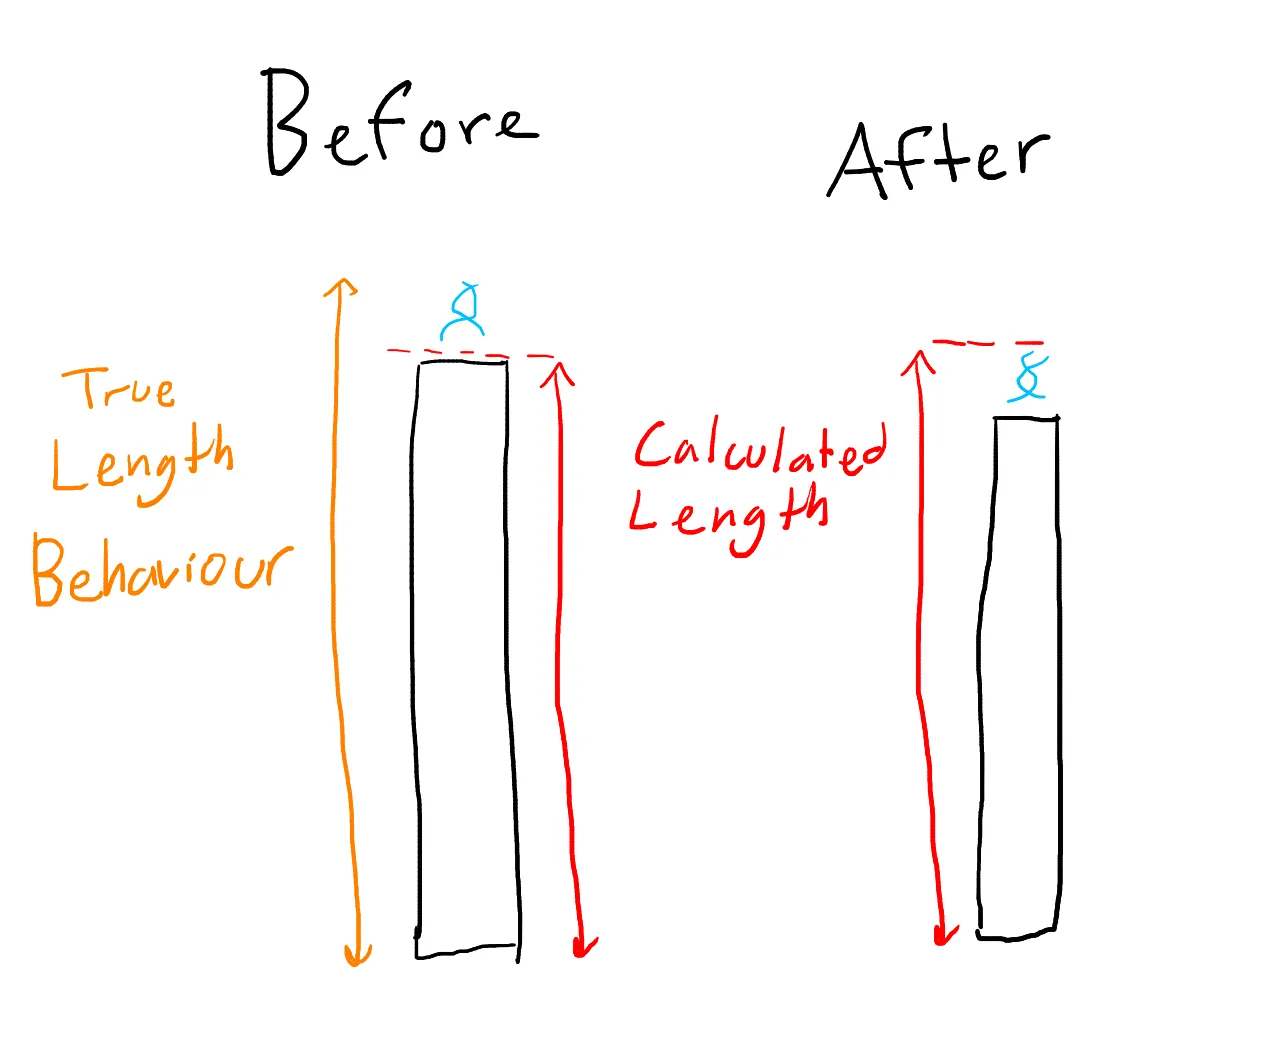
To get the length of pipes right, I used the equations I learned in my Grade 11 physics class, about the vibration in open and closed pipes, however when I put that to the test it didn't sound right. The note I was expecting did not match what I heard (and my tuner verified!). I had to do some research, and I later learned that a little section past the end of the pipe behaves as if it is inside, so the length I calculated included both the pipe and the bit outside. I just had to cut down the pipe a little so the bit outside was included in my calculation, but I did that just by trial and error.
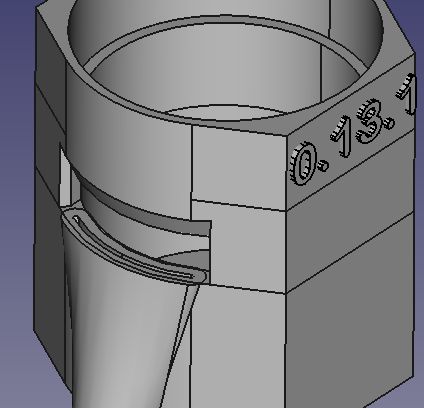
To create the adapter for the PVC with the "mouth" to alter the air current to generate the sound, I based my design off work by Benjamin Wand, who created CAD files with variables I could tweak and customize to fit my needs, so a huge thanks to him and his efforts! At the time, I didn't know any CAD myself, I only knew how to work in Blender, so I exported the designs from FreeCAD and opened them there to edit. The photo on the left shows the design I modified from Wand's work, the photo is from his GitHub repository.
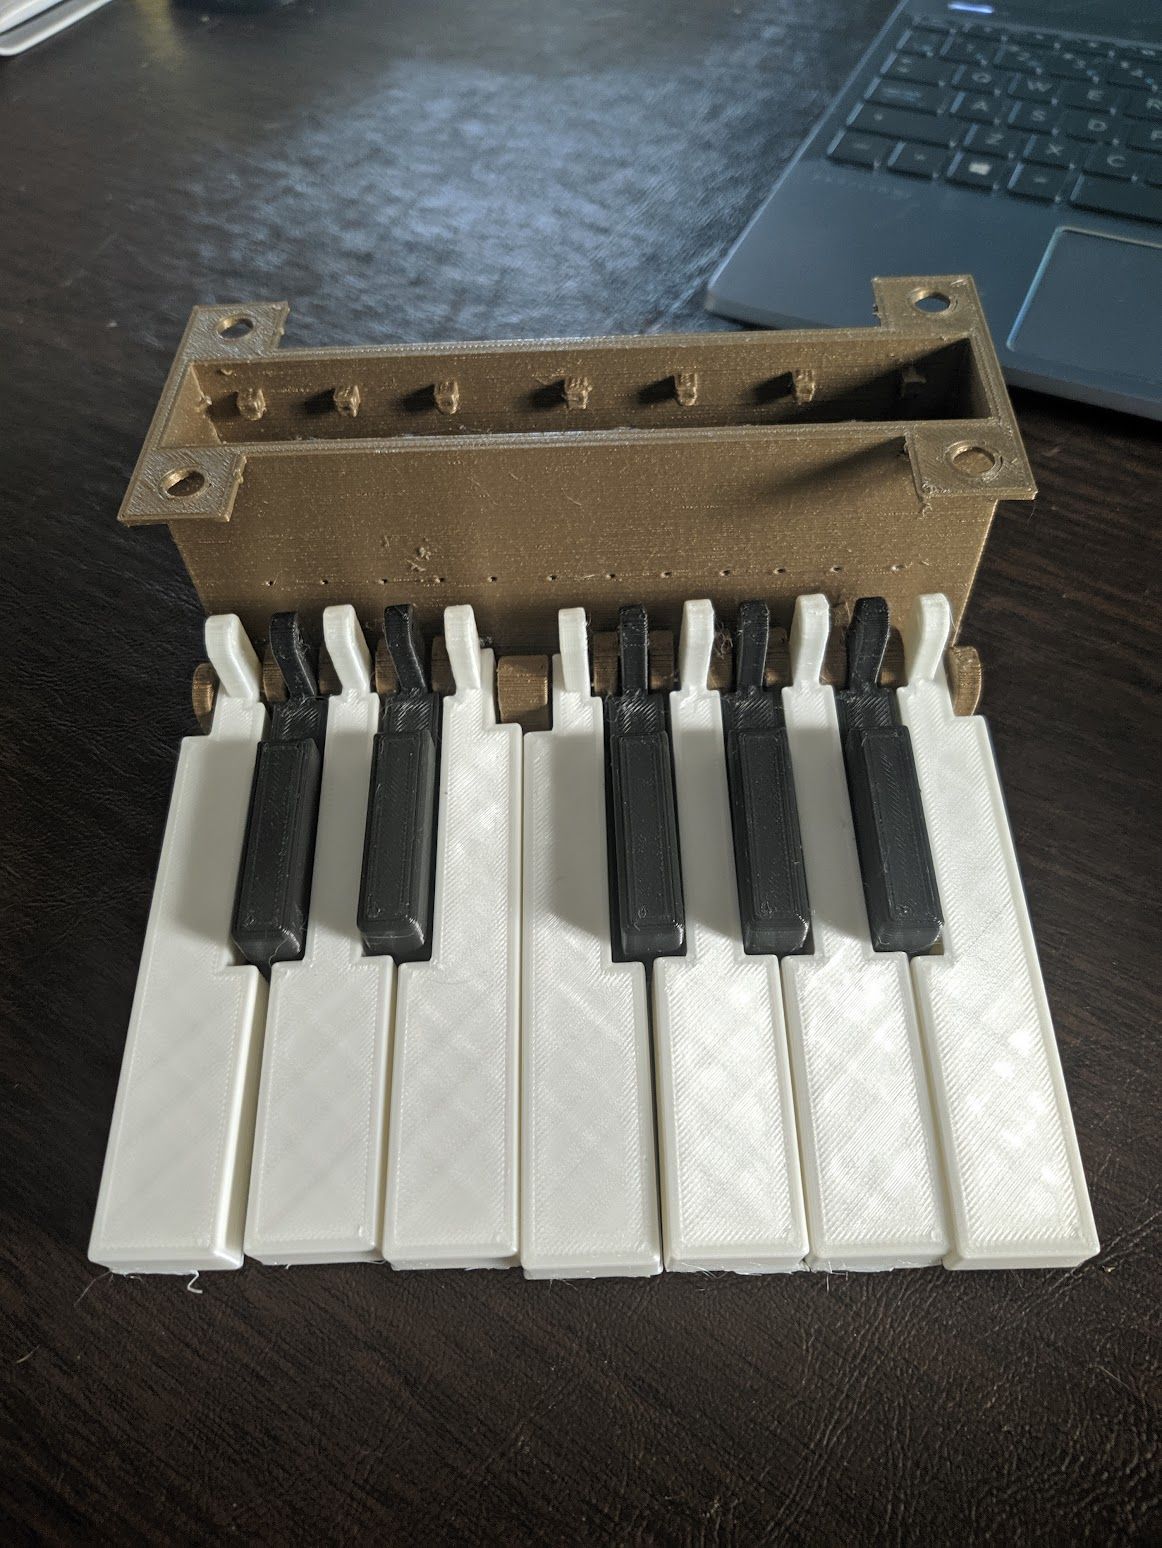
The keyboard was the first time I was creating a moving 3D print, but I had an overcomplicated design and it did not end up working. I was trying to have valves held down by springs, and a string was attached from the key to the valve, passing through the case? But it did not work, for obvious reasons, it was too finicky and had way too many spots for leaks.
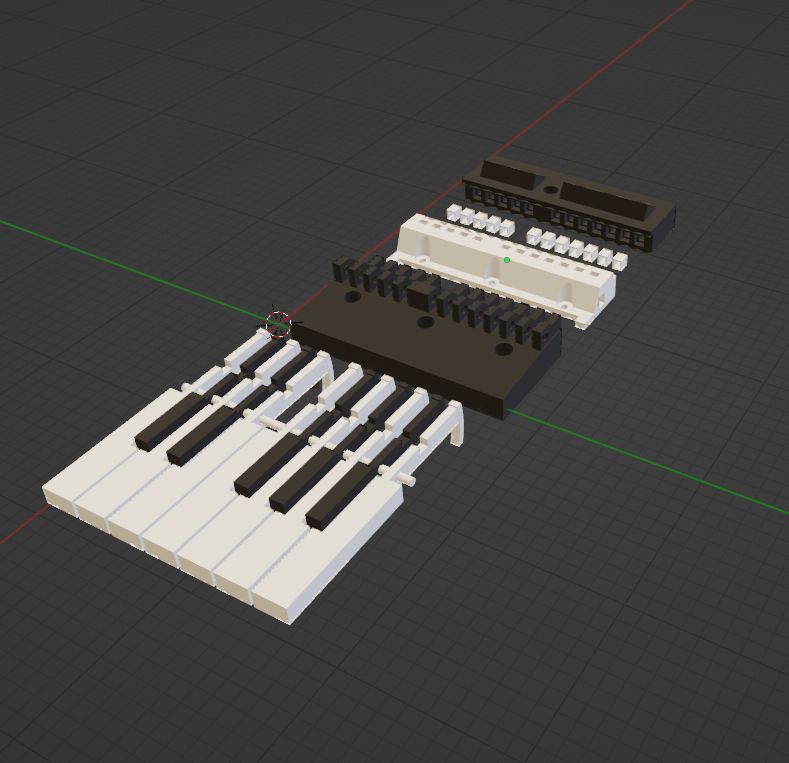
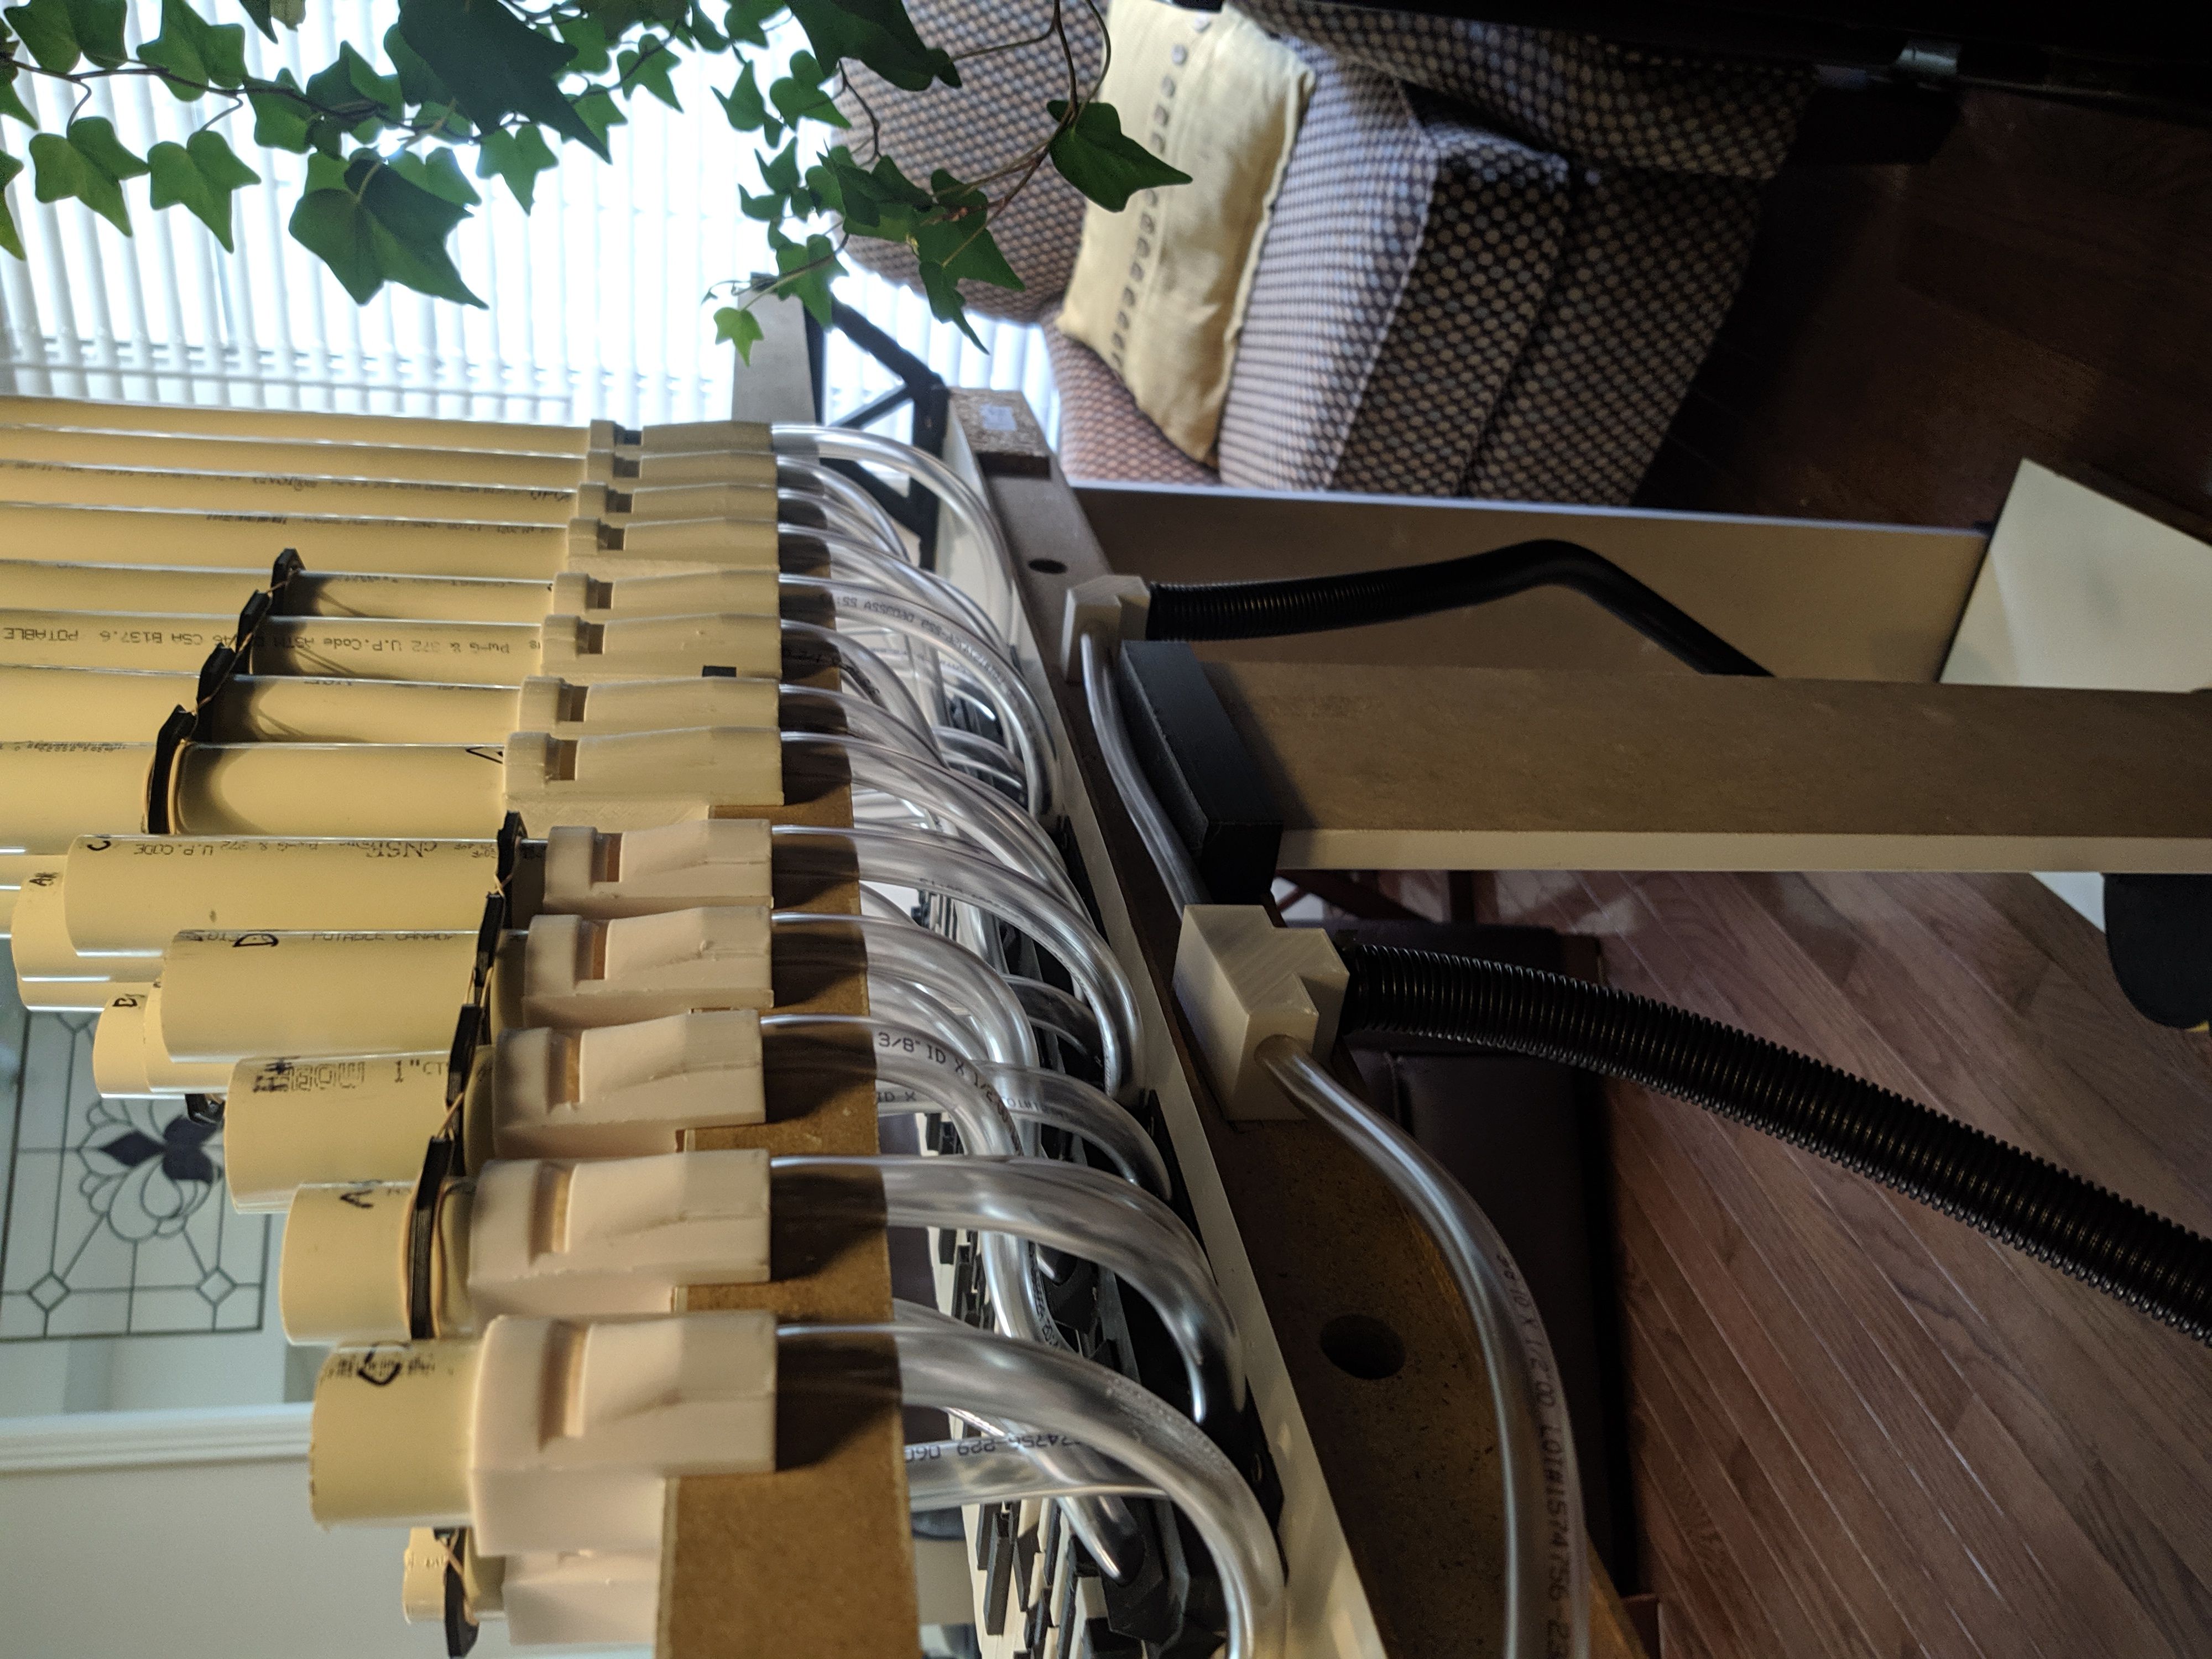
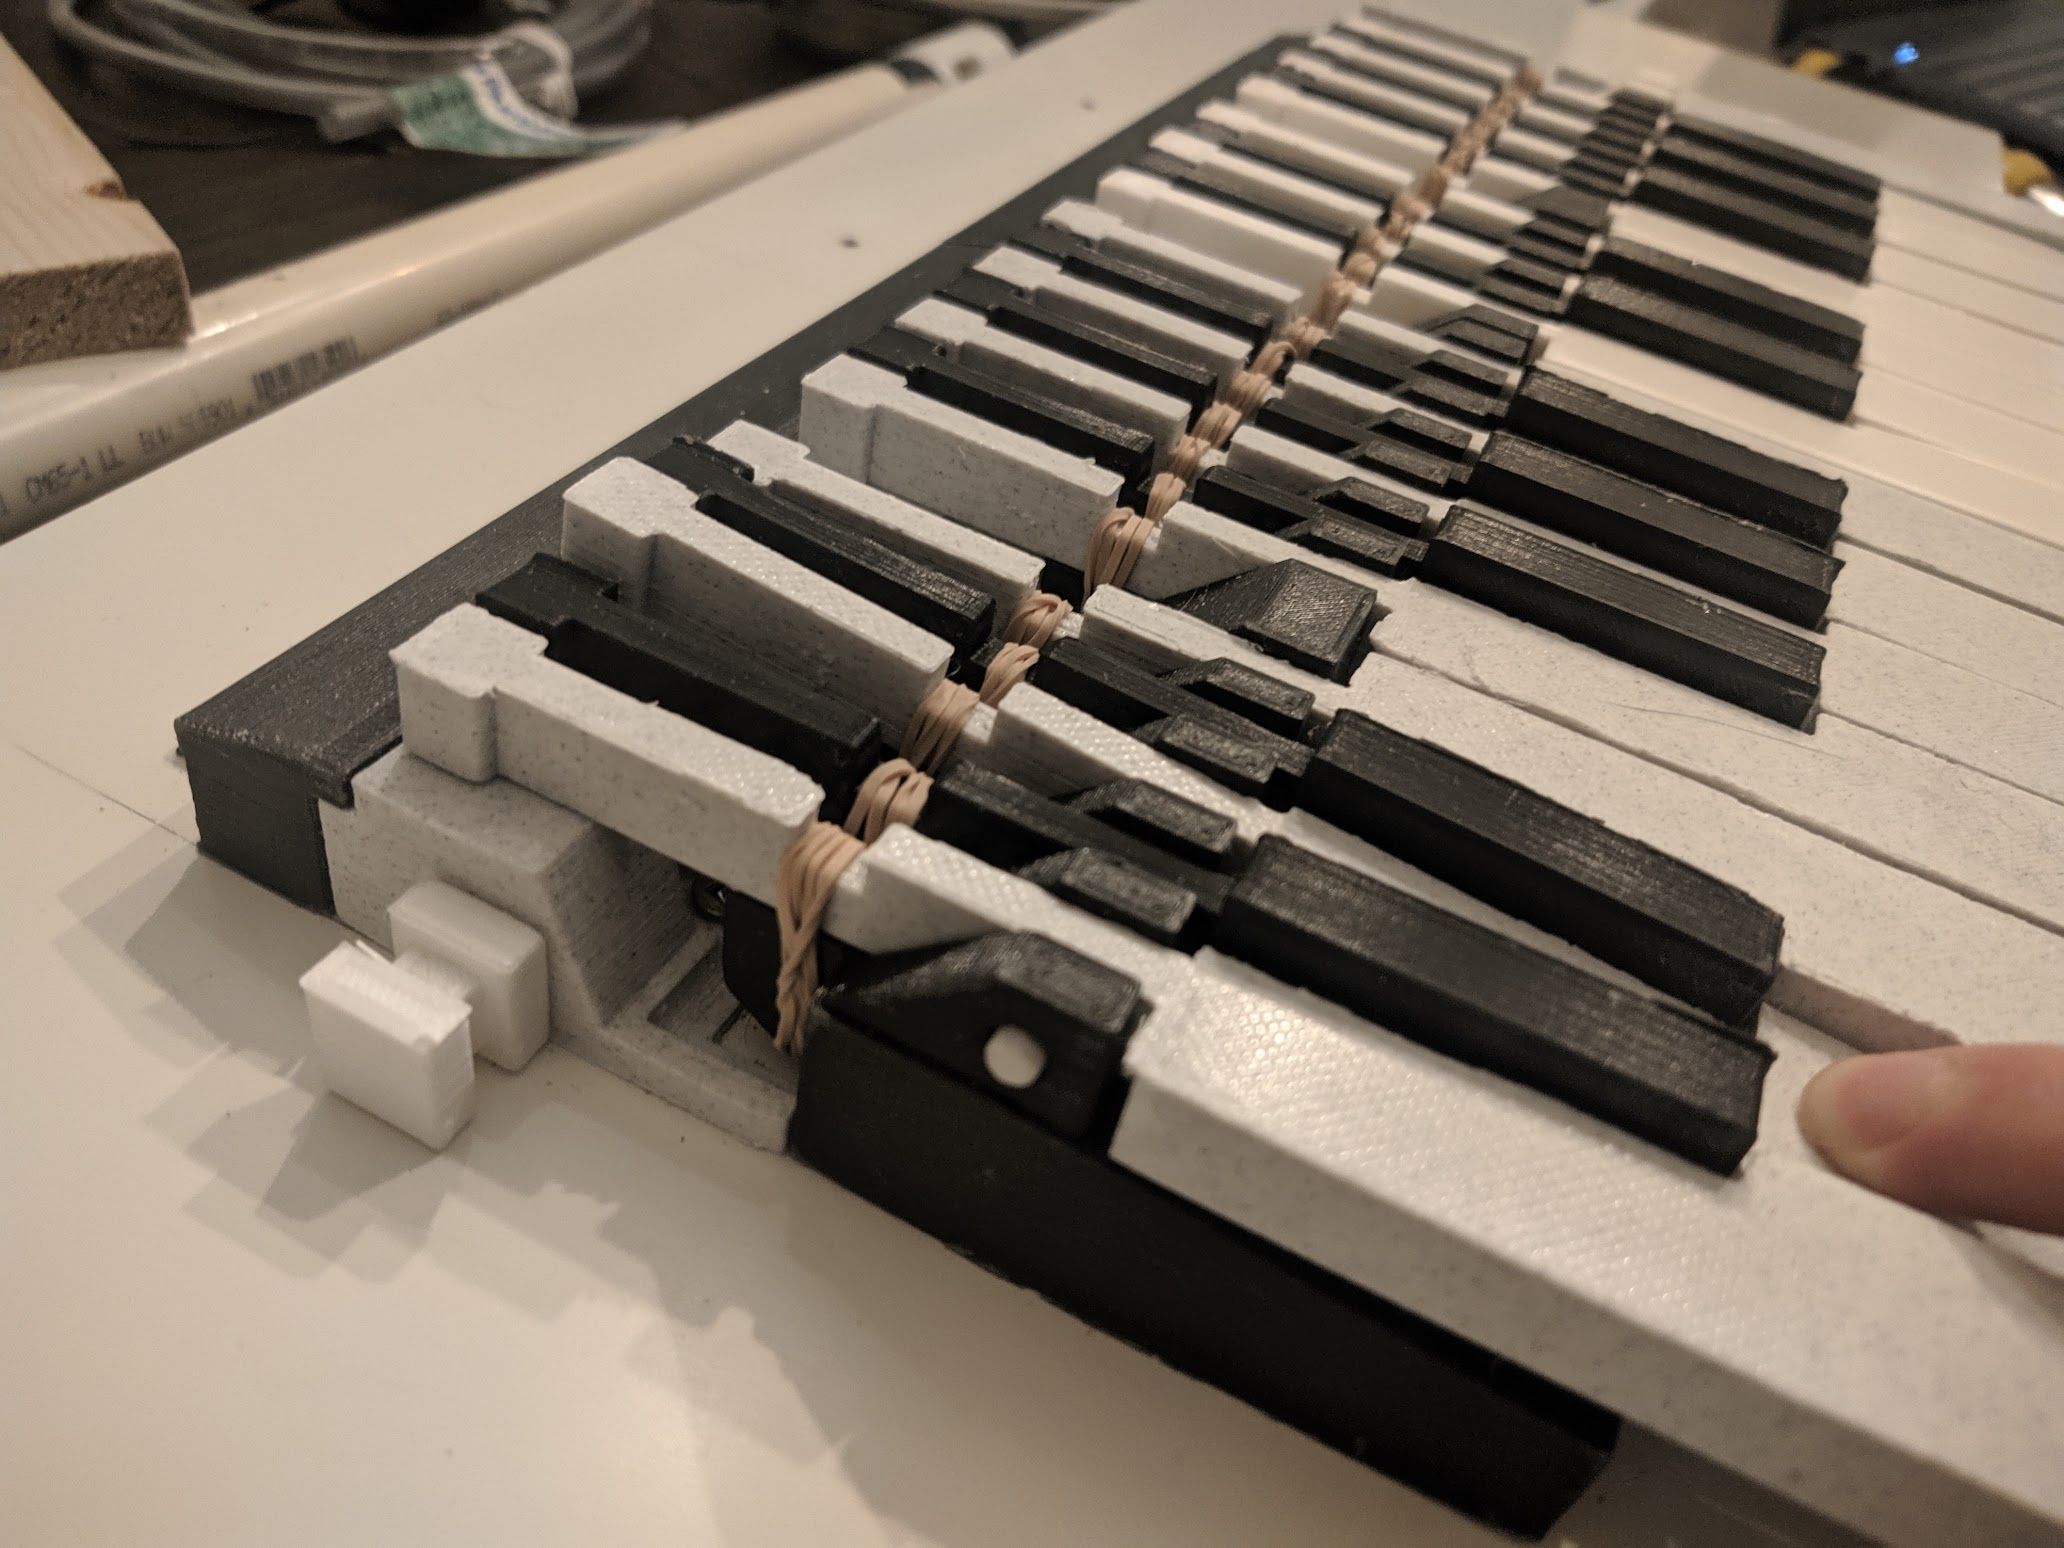
My second design for the keyboard was much better! It consists of multiple modular parts, so I could test various designs and modifications without reprinting the entire keyboard. The large black piece at the front holds the keys and has slots for elastic bands to return the keys to a flat position once released. The middle white piece is the airflow channel, with an input and output at either ends, and slots for the keys to act as valves. The final black piece at the back is an adapter to convert the airflow channels into the larger plastic tubing to connect the pipes. It still needed a new revision to get optimal air sealing, and it still isn't perfect, but it's much better than before!
A 3D model of an early revision of the second keyboard design is shown below! At this point I still only knew Blender, it wouldn't be until fall 2025 that I would learn CAD in my second year of mechanical engineering, but it did its job!
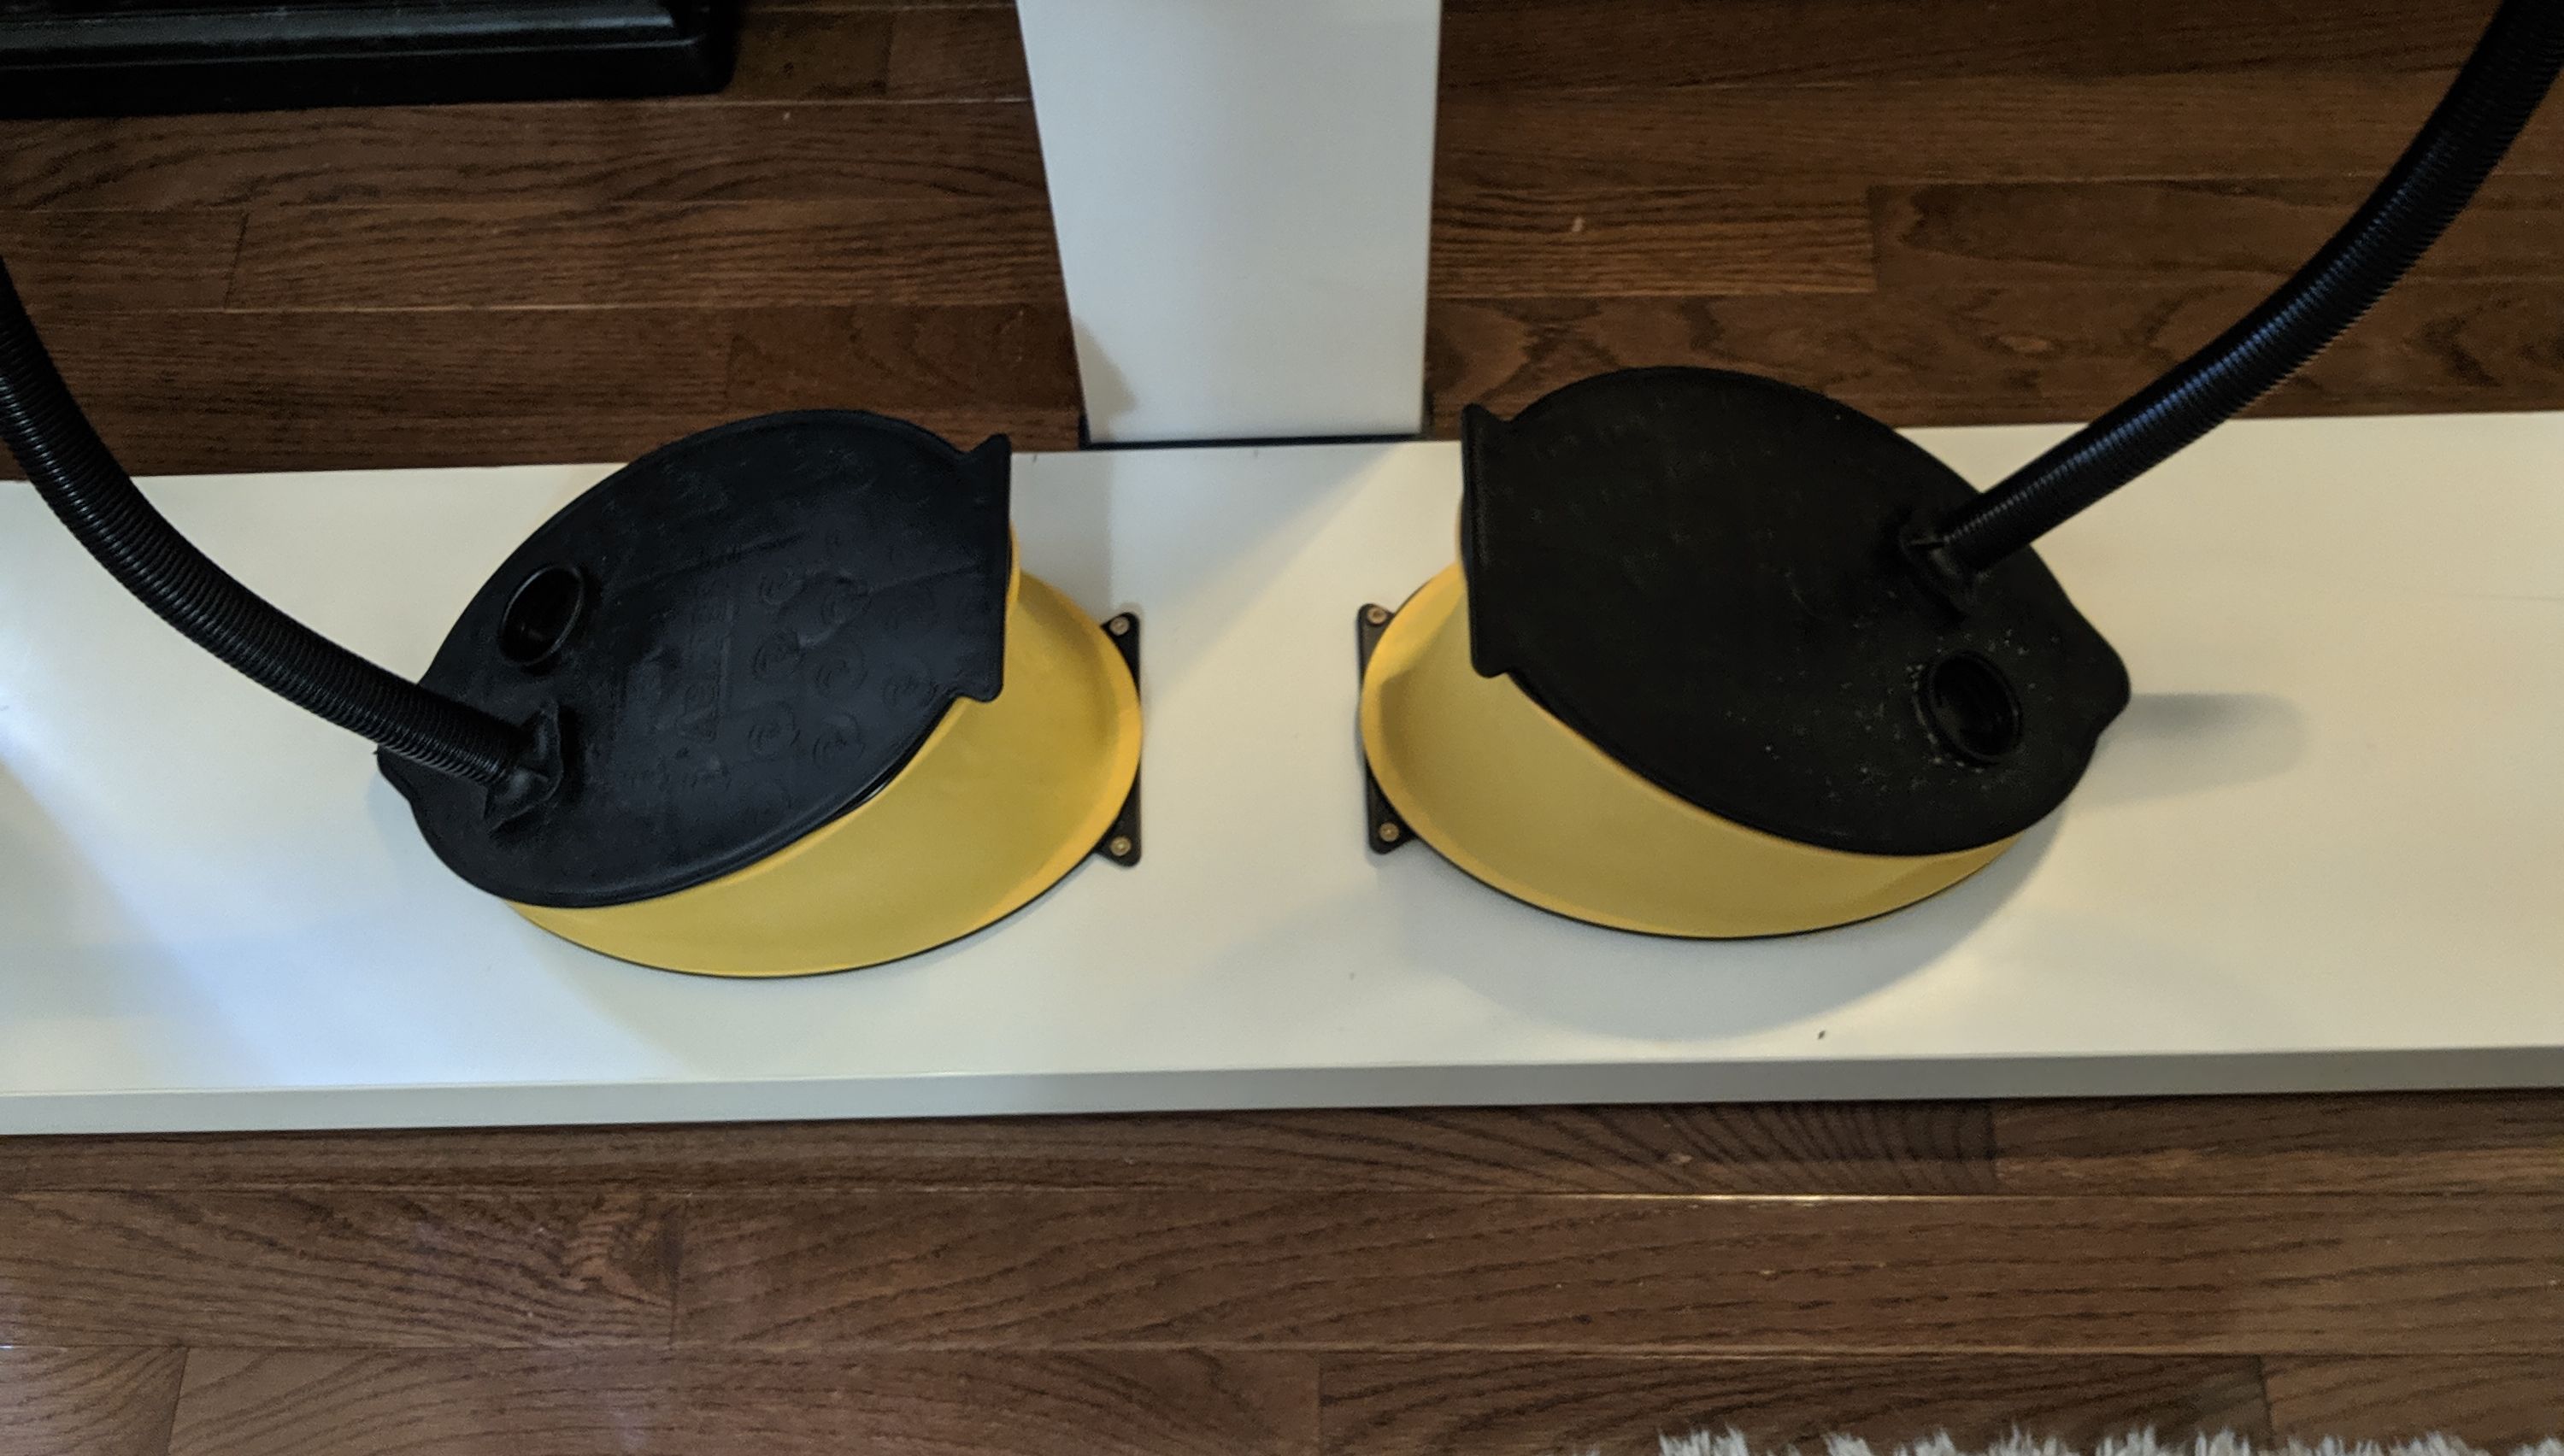
Now that the pipes and keyboard were underway, the last step was how to generate airflow. This part took me a long time to figure out. I tried using motors with various kinds of fans, I had balloons, and fireplace bellows, but nothing I tried was either quiet enough or didn't generate enough airflow. I think part of the problem was my keyboard, there were leaks between seams which allowed the air to leave even when no keys were pressed, so I couldn't just store air, I needed to constantly generate it. In the end, I found these foot powered pumps designed to blow up tents or other inflatables, and 3D printed an adapter to connect to my keyboard!
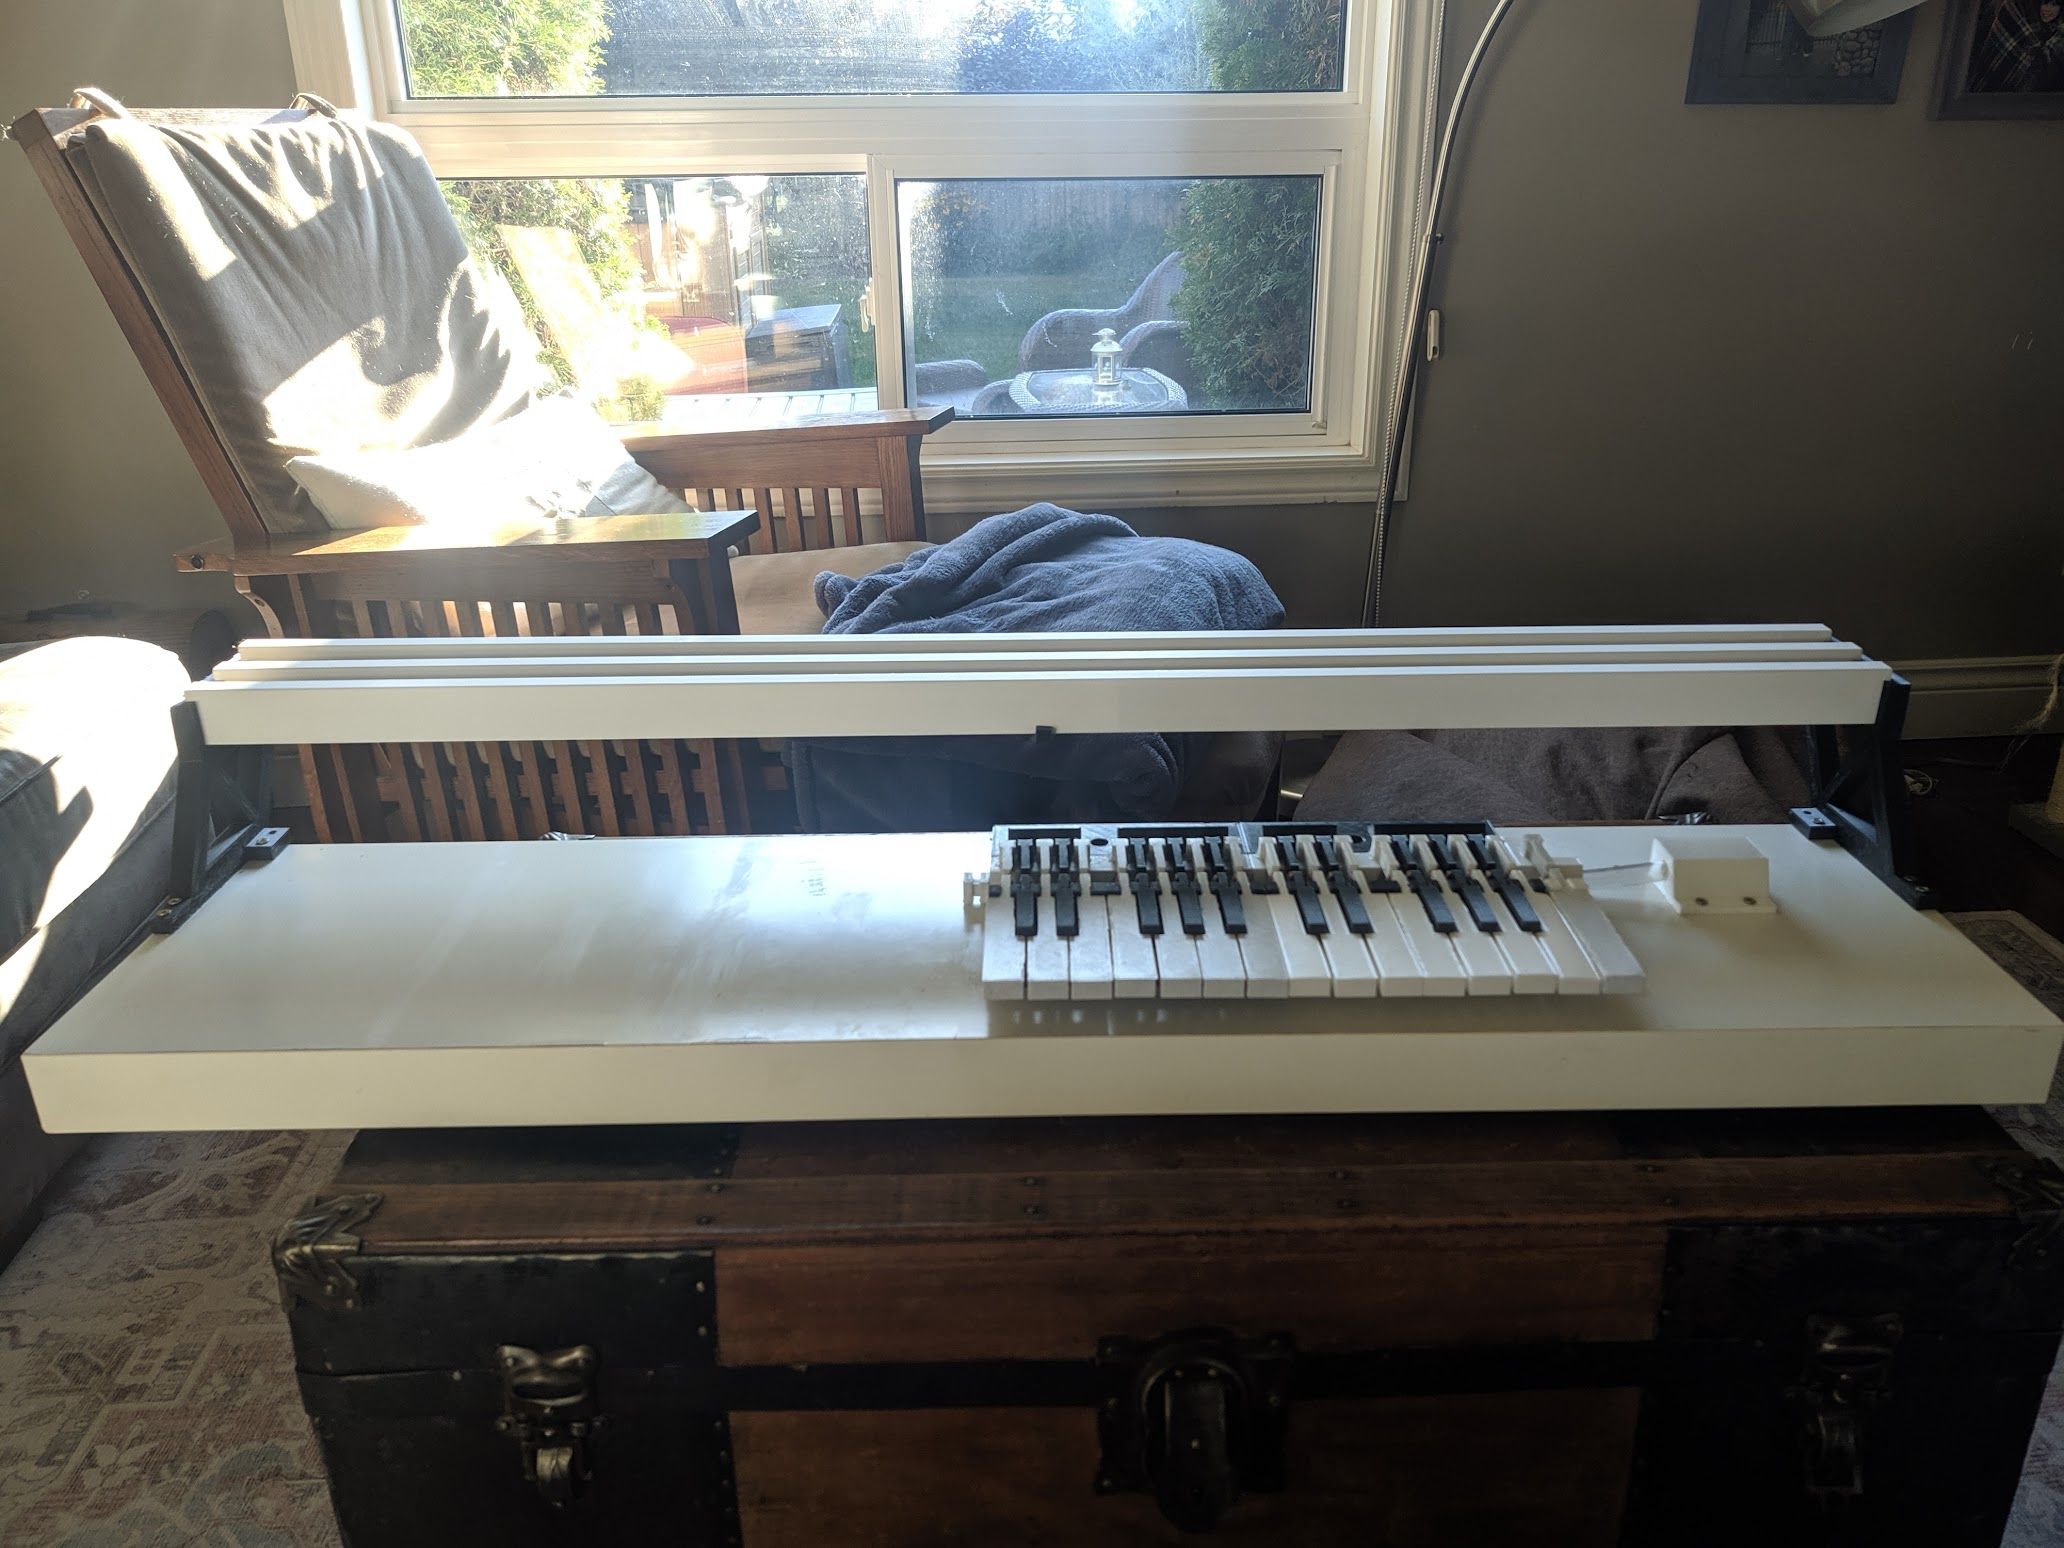
The frame for the pipe organ was mainly built out of two old IKEA shelves we had in our garage, with some supports made out of 1 by 6 inch boards. The stand for the pipes was made up of some long thin slats spanning across the length of the organ.
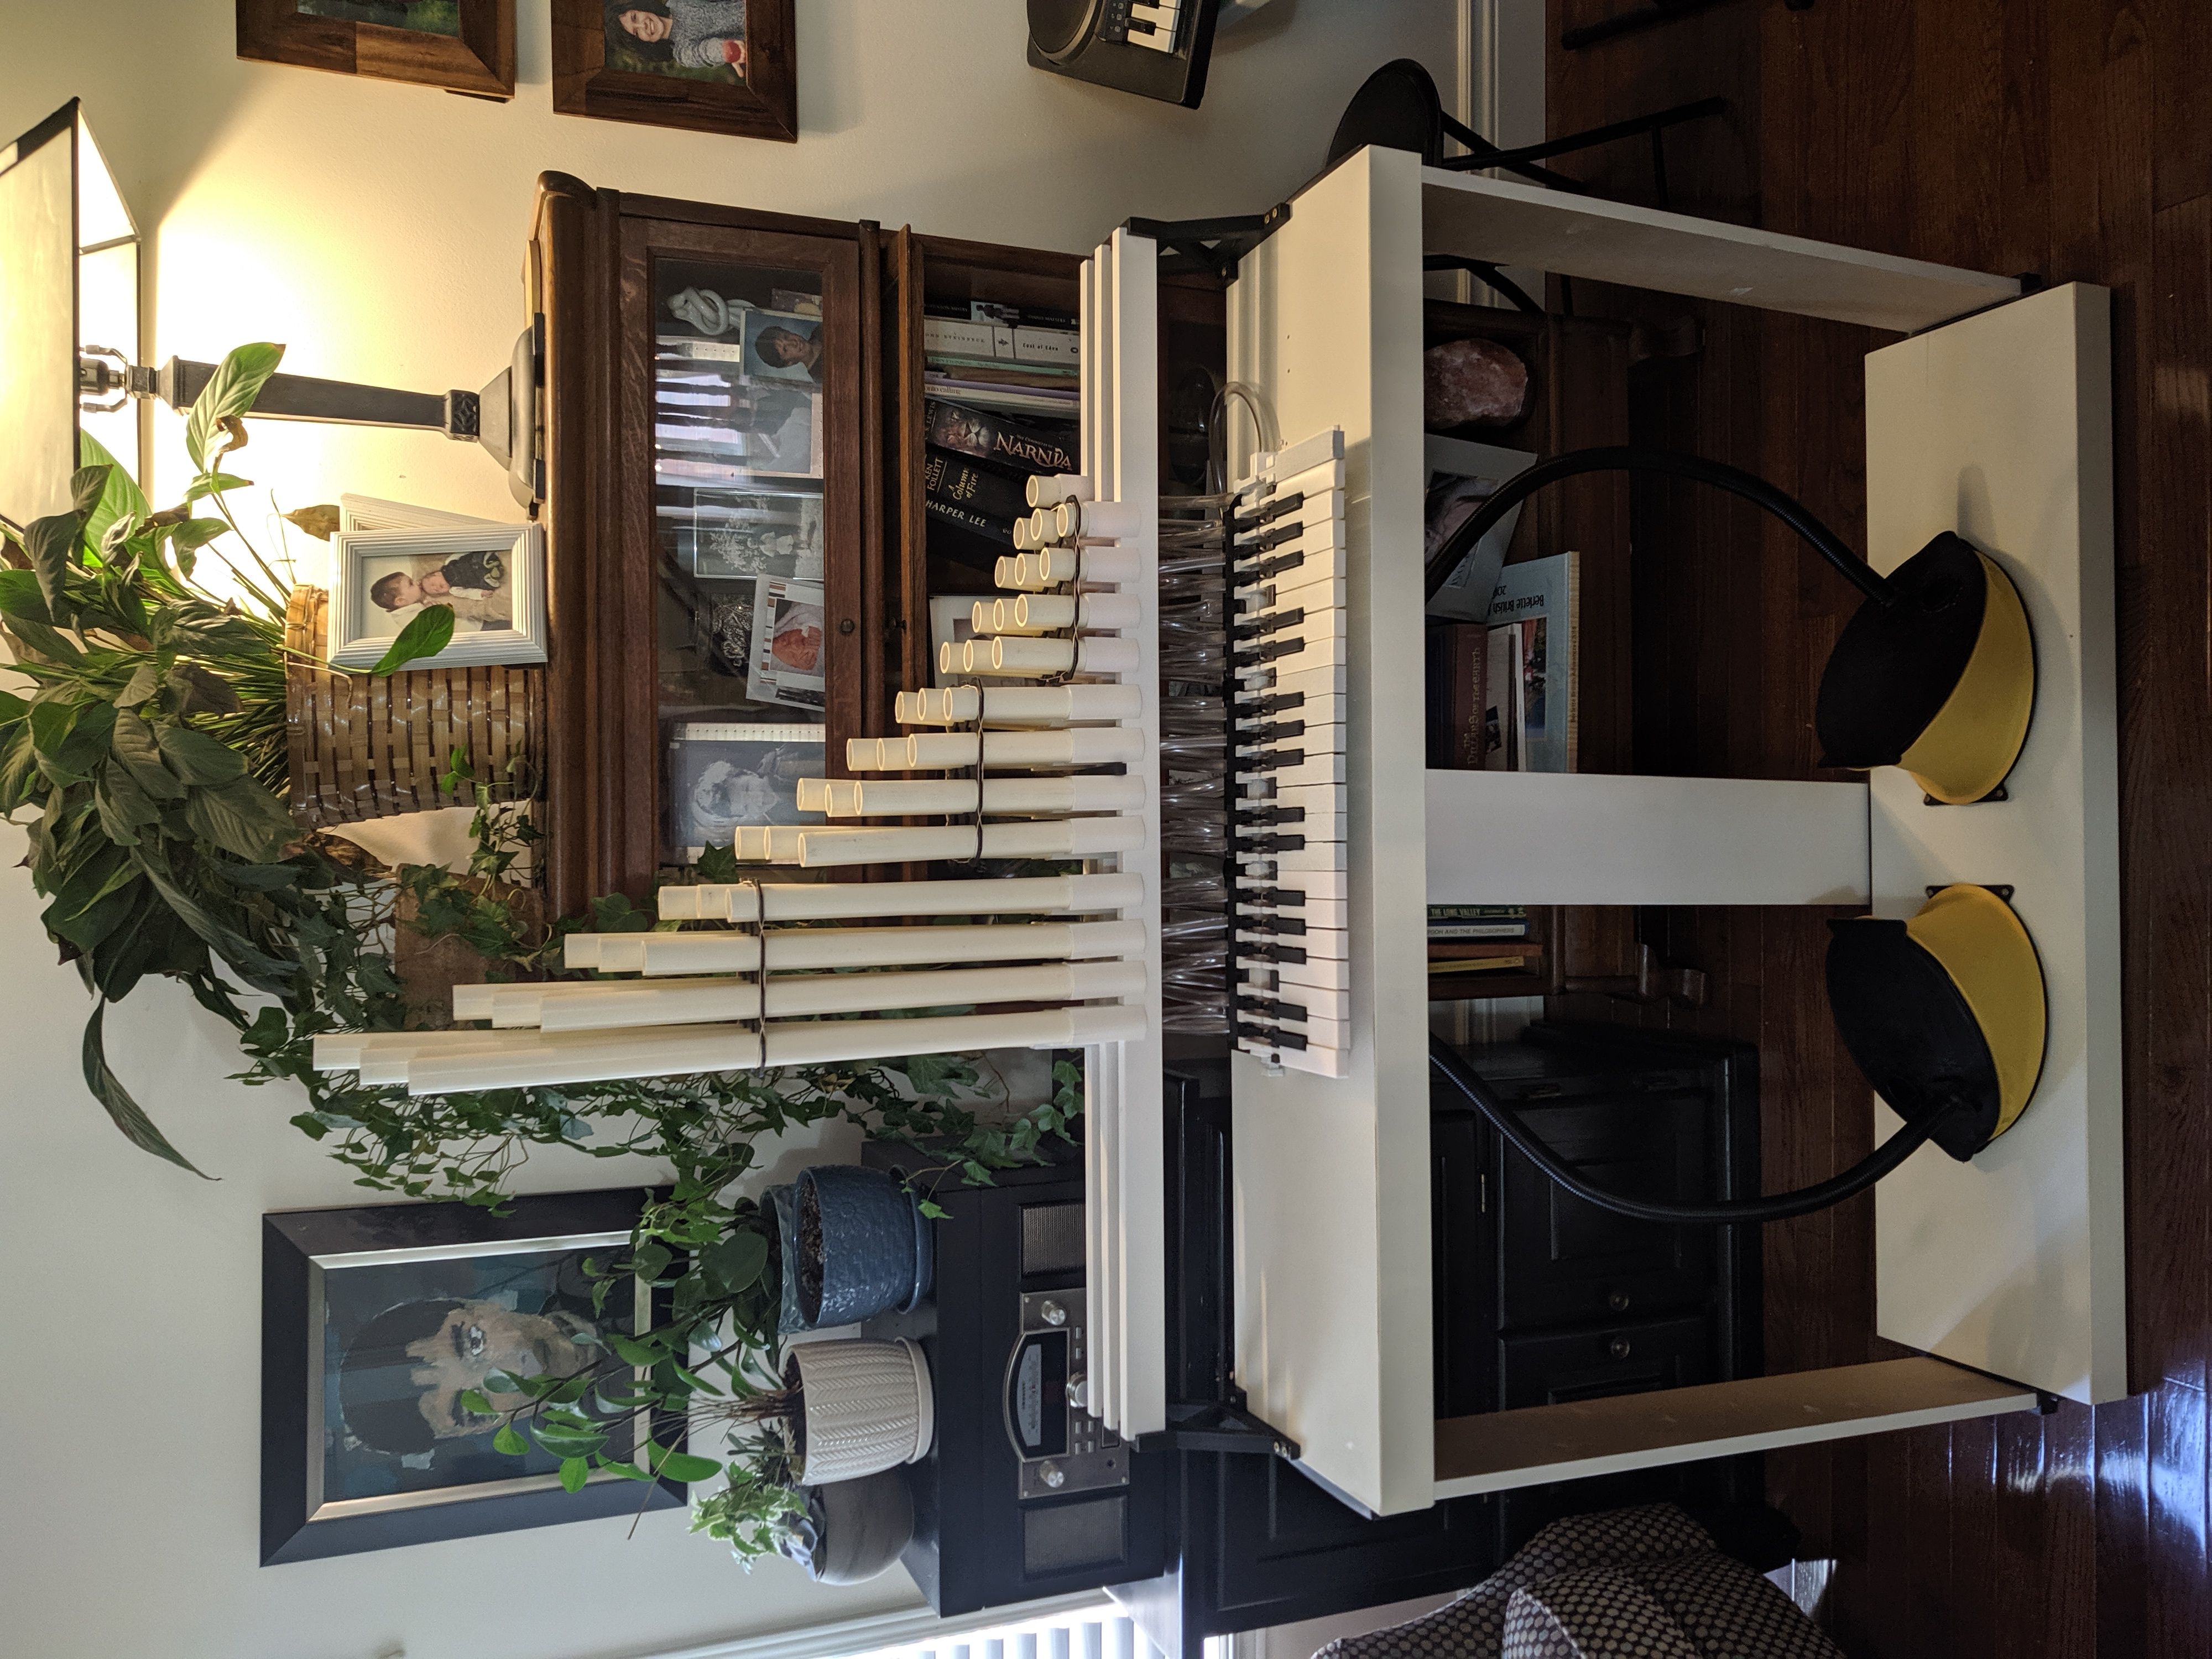
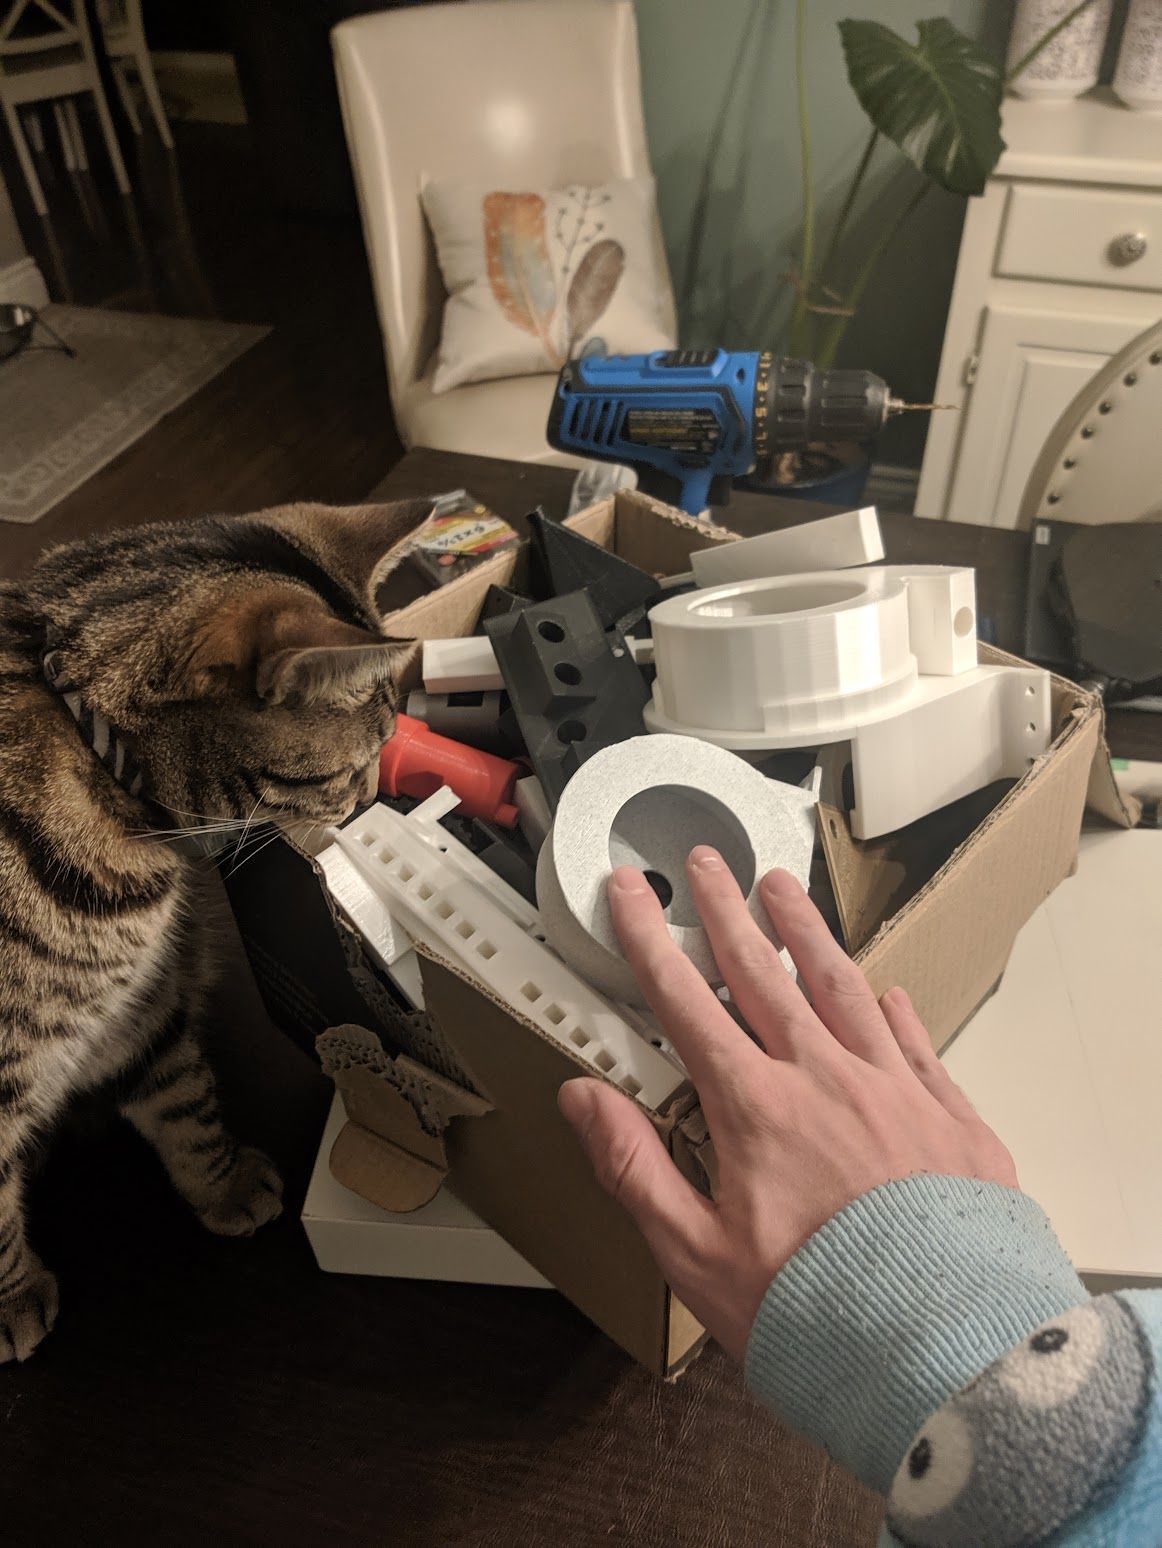
Overall, the project had a lot more trial and error than what I've talked about here. By the end I had a box full of failed experiments, but every time I failed it just brought me closer to achieving my goal!! I'm really happy that I was able to stick with the project for so long, with so many setbacks and obstacles.
Below are a bunch of other photos, including a short video of me playing a song from Interstellar on an early version with only two octaves. The final design consisted of 4 octaves (from C3 to C7). I also added sliders at the top to tune the pipes, as in different air temperatures the frequency generated by a tube of the same length changes.
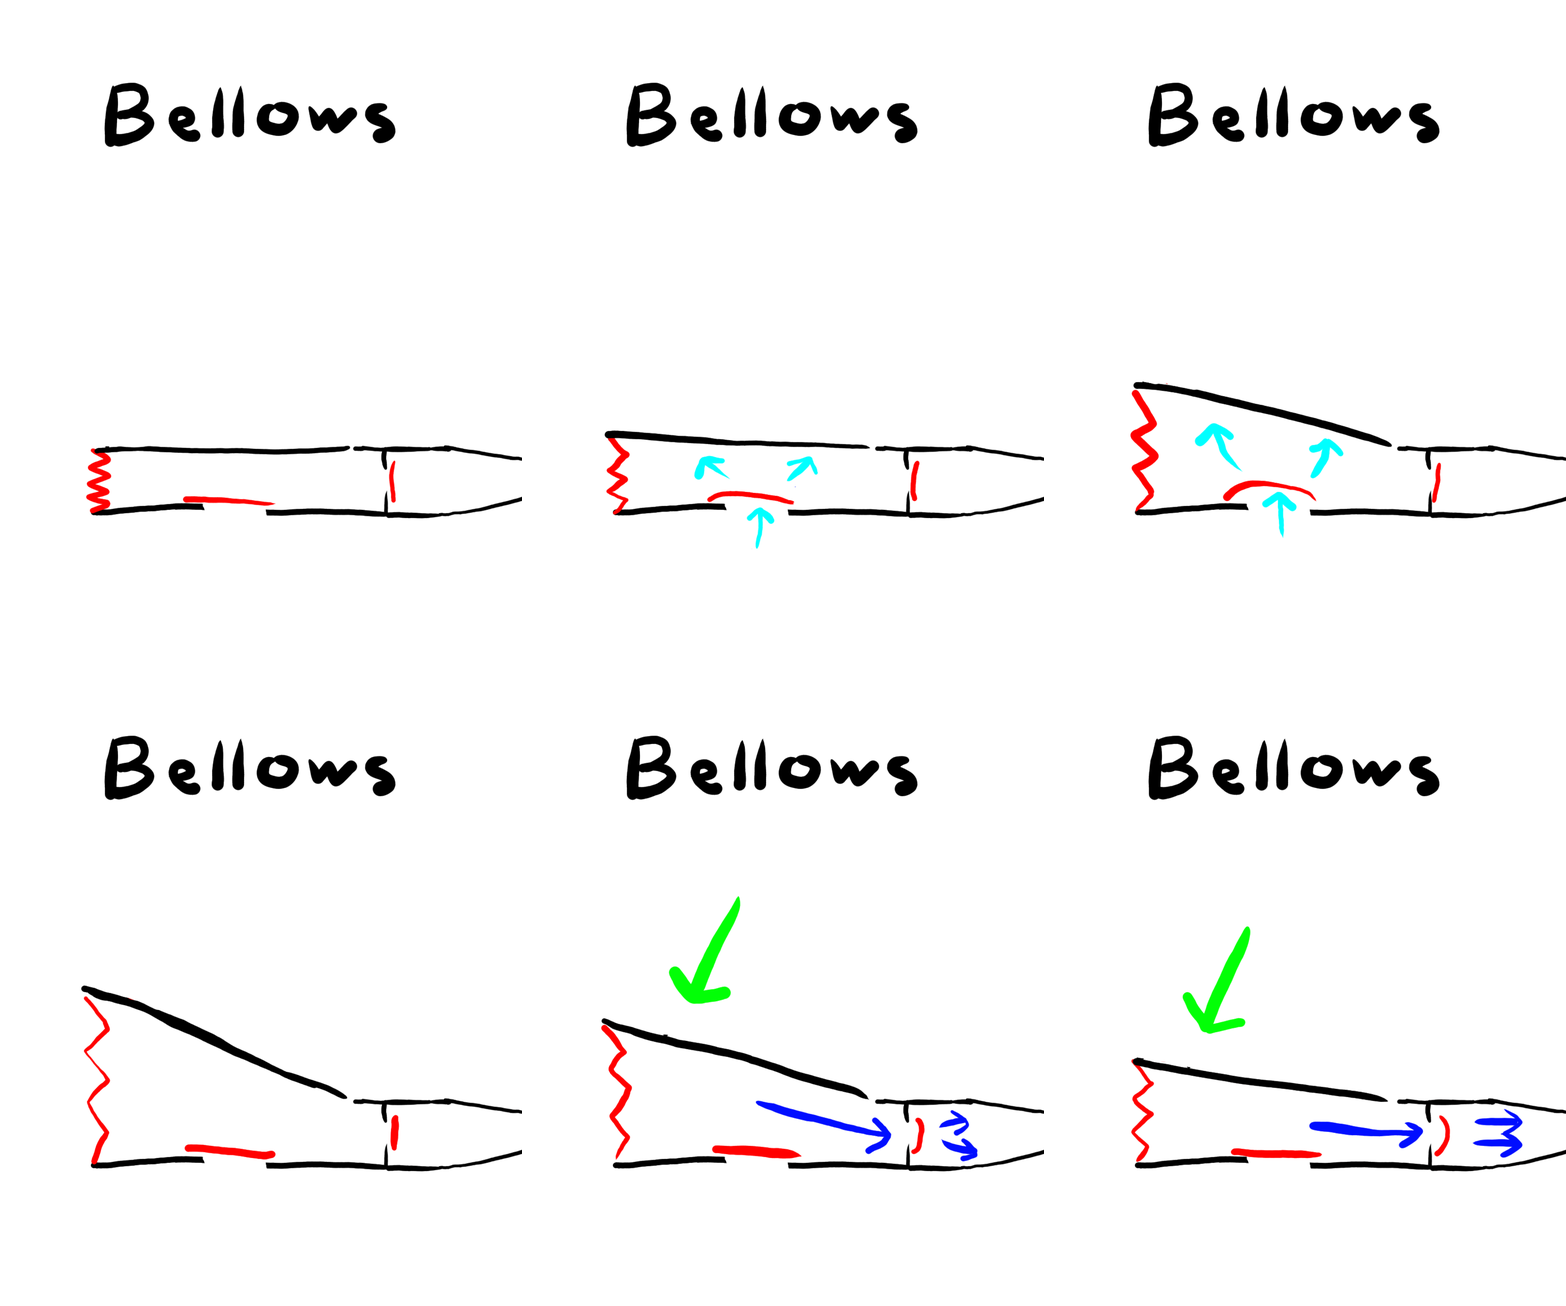
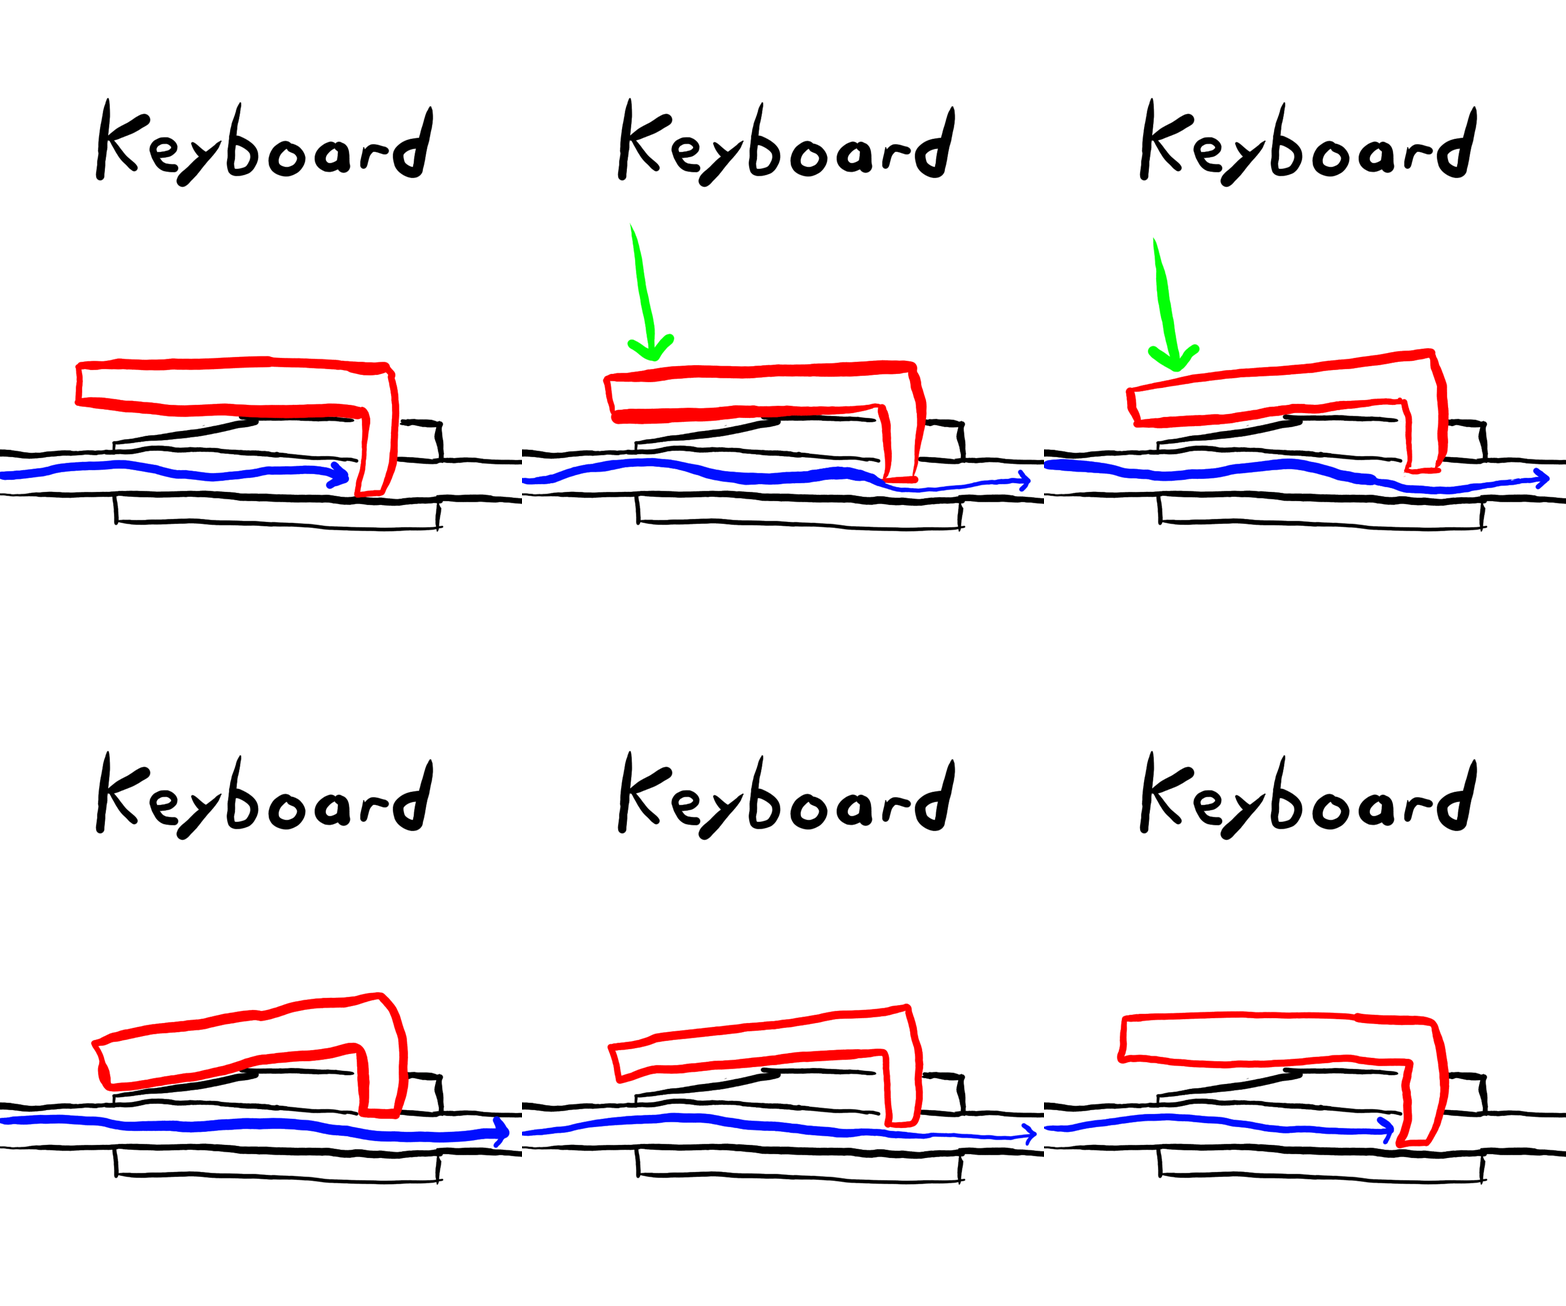
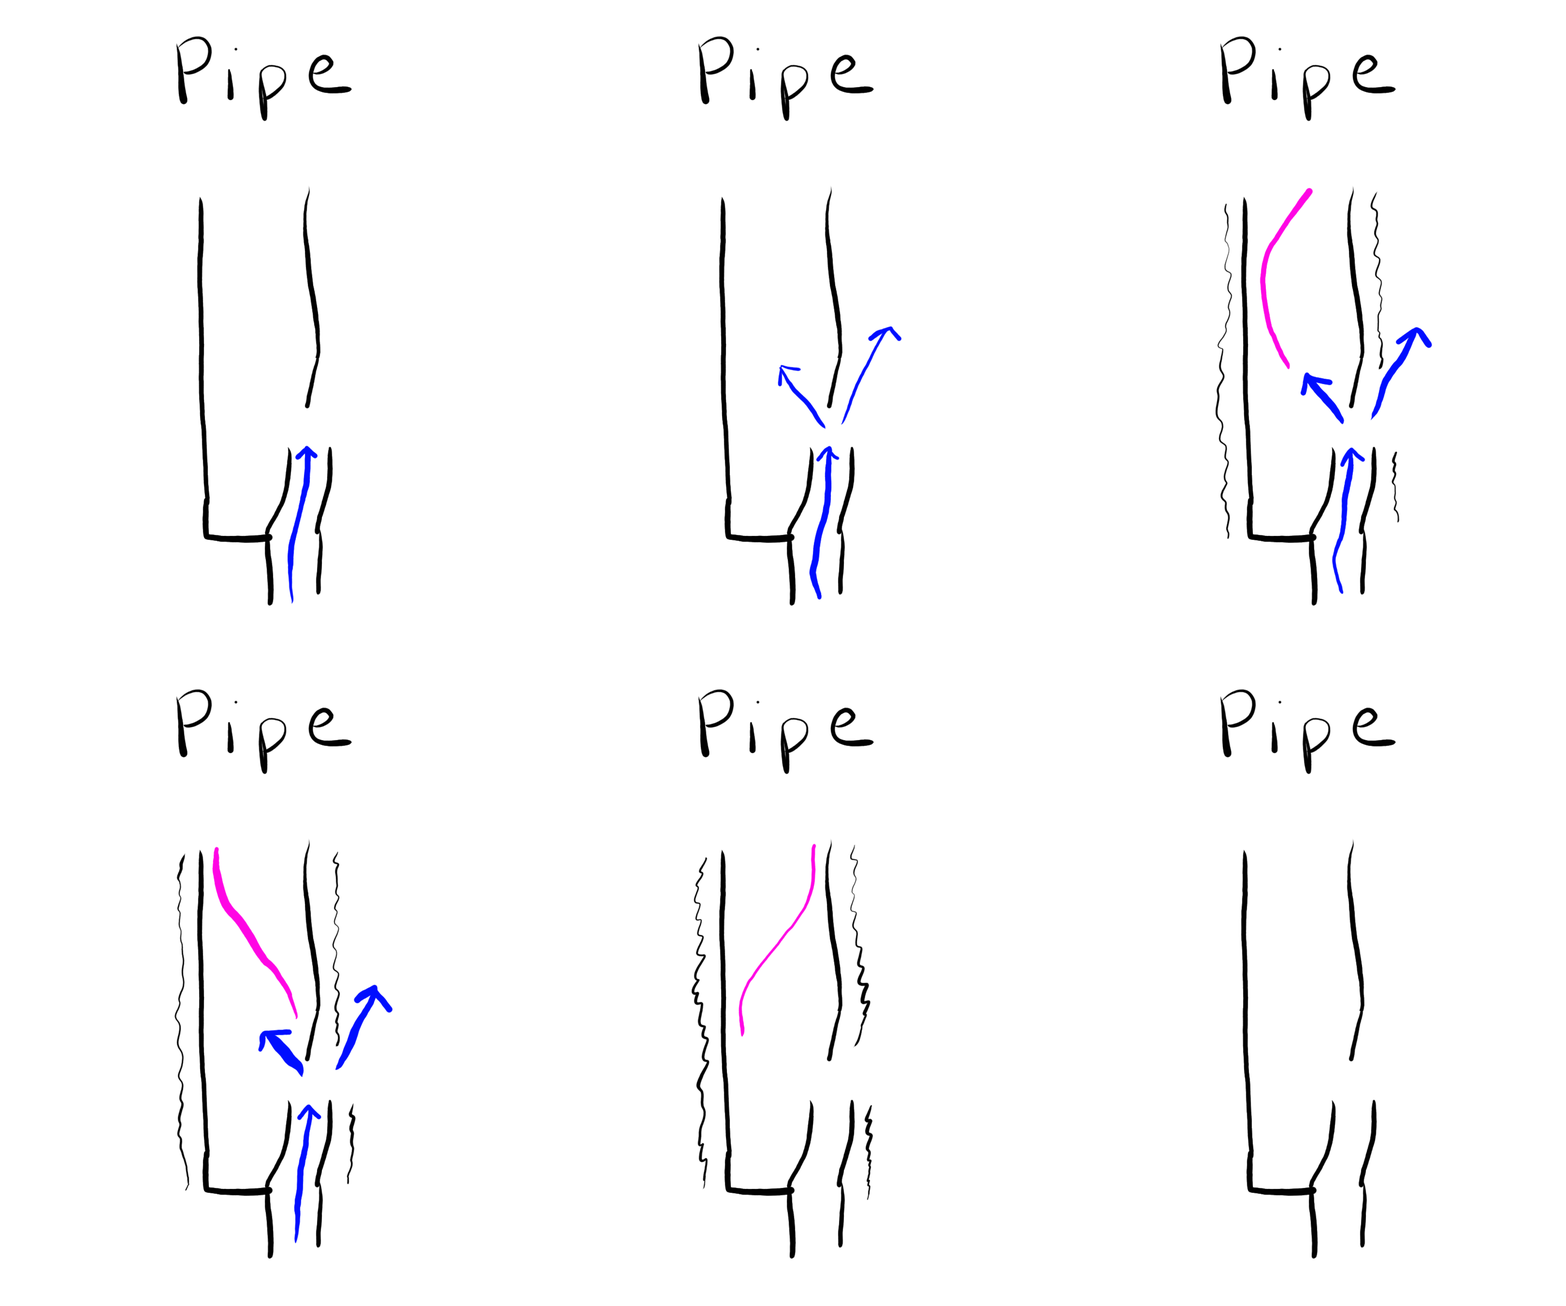
This project took a lot of research, and a lot of iteration to get to a point where I was happy with the design! It shows I have the dedication to stick with a project and the motivation to learn new things!