I adore retro technology so much, I love all the old mechanical sounds and buzzing and how simple everything is! A project I've been working on for a while is a cell phone with a rotary dial! I've been working on this project since early 2022 when I first bought an old rotary phone, but back then I didn't do a very good job of documenting my work... I've made many iterations of this project, and I think I am finally at a point where I am happy with it! The first four versions all used Adafruit's SIMCOM 5320 module as a modem, using 3G technology. As carriers are phasing out older cell tower technology, for my fifth and current version I had to upgrade to Makerfab's Maduino Zero LTE which supports VoLTE and 4G data connection!
My first version was very simple, just a proof of concept. It had a 16x2 character LCD display, the SIMCOM 5320 modem, and the rotary dial, with an Arduino Mega powering the project. It wasn't a cell phone, as it had to be plugged in, but it did work! The only thing it could do was phone the number input from the dial, and accept calls by dialing the number 1 on the incoming call screen.
The next version was fancier. I 3D printed a case and it had a battery, so it was truly a cell phone! This version was powered by an ESP32 dev board and had an e-ink screen, with the same modem. I also used the ESP32's touch capacitive support to add a few buttons to help navigate the device. This version could call the same as the previous version, but it also had a contacts list support! With the ESP32's wifi, I also had a web dashboard that could be used to edit contacts from another device! The case for this phone was a disaster, just a big void to hold all the components loosely. It was my first time designing a 3D printed enclosure, and it broke not long after.
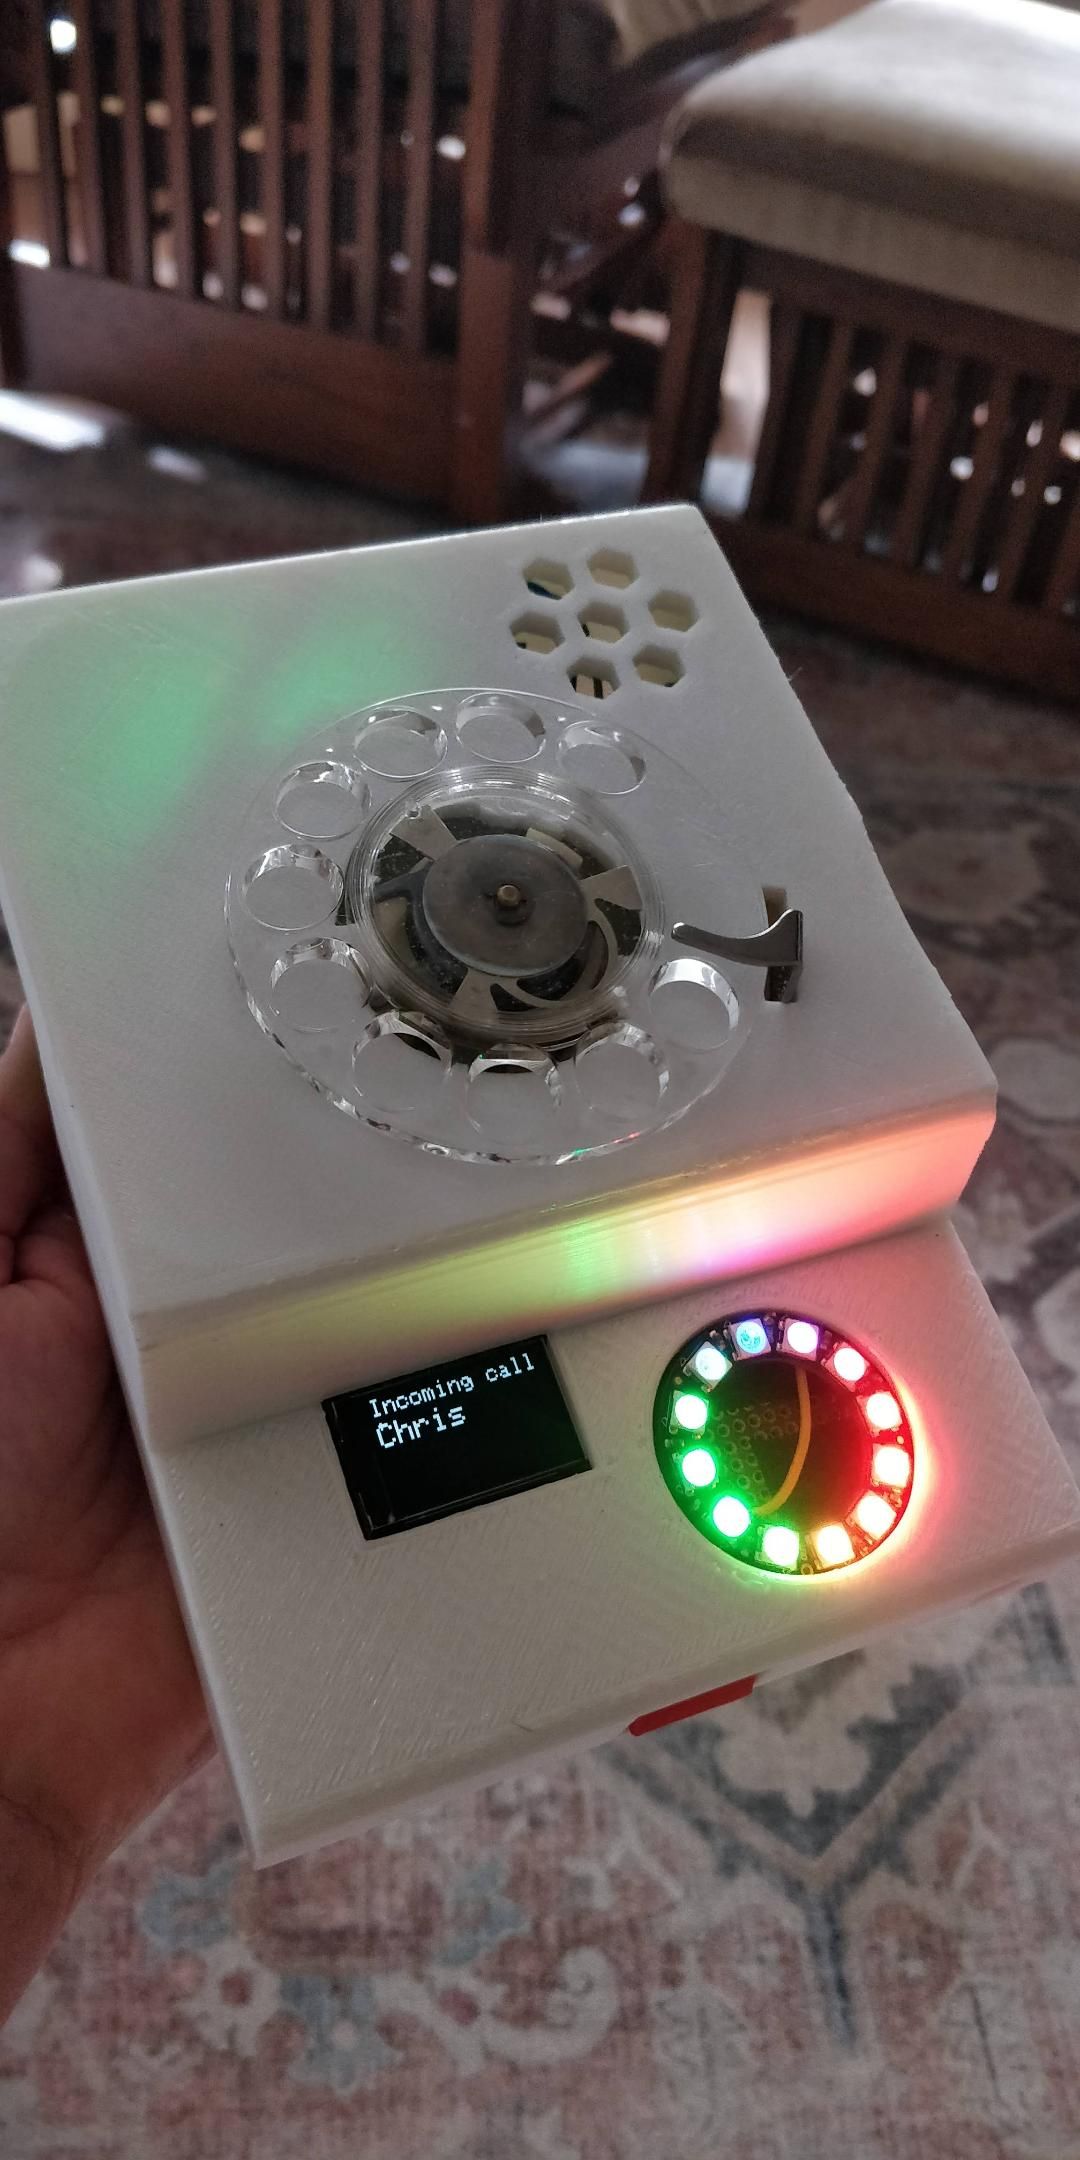
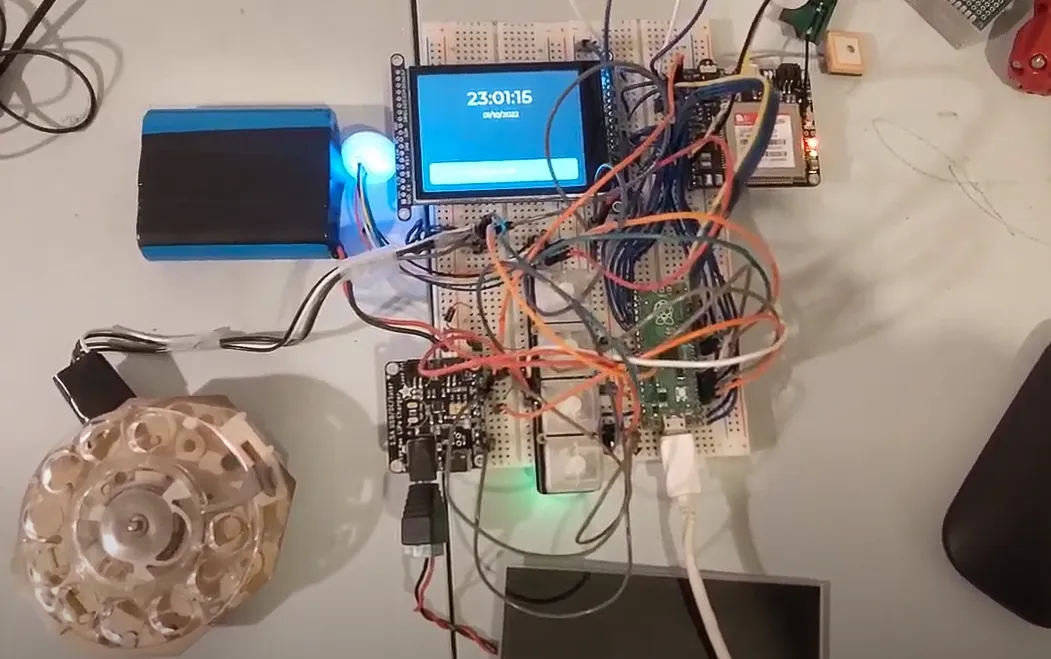
The third version was where I started making progress. This version had a colour LCD screen, and I laid out everything nicely on a perf board to hold all the components! I also had a fun colourful LED light ring to show notifications, progress, or other things going on! I also figured out how to receive text messages, and reply with some pre-determined responses. I also had a simple web server running, which lets me get the weather or read snippets of my emails! A major downside was the lack of any other buttons, so everything had to be done with the dial. This was okay in most cases, except when I was dialing a number I couldn't backspace or accept when I was done, I had a timer to submit the input after a certain period of inactivity. It also didn't help that due to the timeout, if someone was reading my number or I was taking time to enter it, it was possible for the number to be submitted too early, leading me to have to retype the entire thing again. The phone was very massive, and hard to move around, and the limitations on the input compelled me to try a new version.
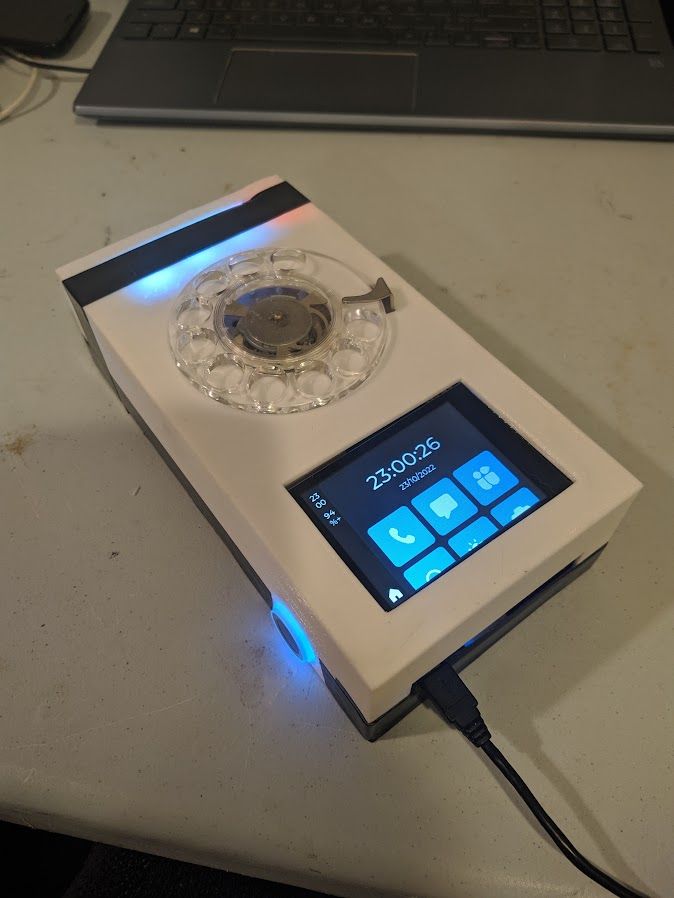
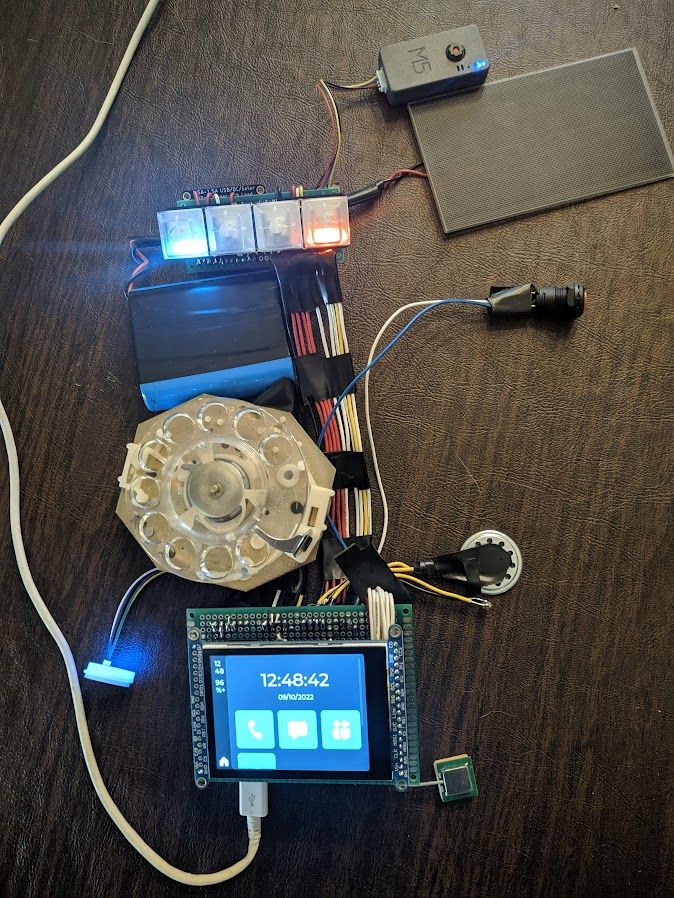
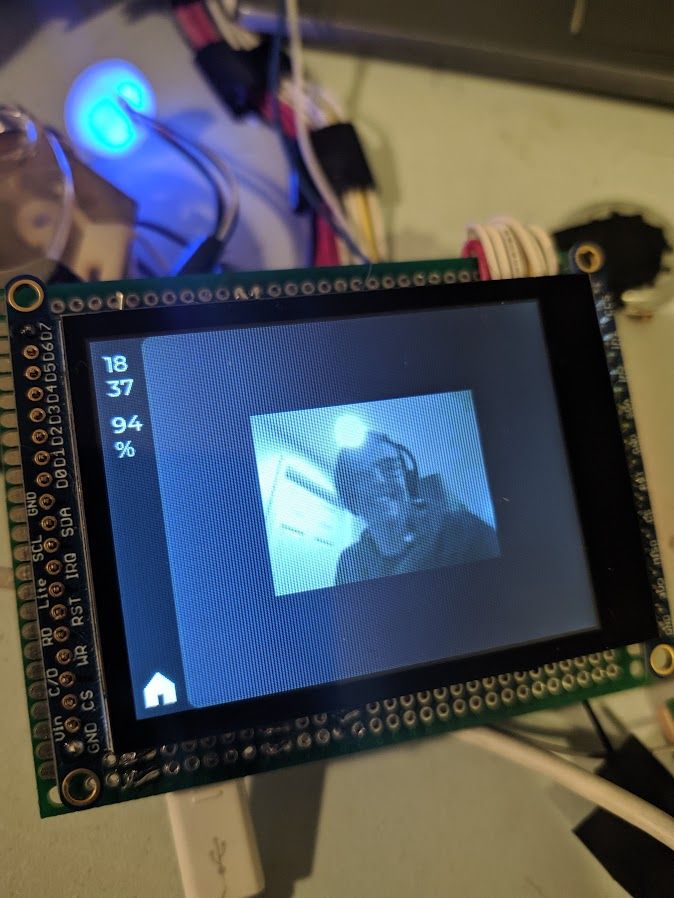
The fourth version of my rotary cell phone was a beast, and I went all out on the features. It had a massive touch screen display, a finger print reader, a set of four full size keyboard keys with RGB lights, a camera powered by an ESP32 Camera, and a solar panel (although the solar panel was more just for funzies). The touch screen interface was powered by LVGL, and made using the phone so much easier! Because of all the extra features I added to this version of the rotary cell phone, this version was even more bulky than the last one, so it wasn't practical at all.
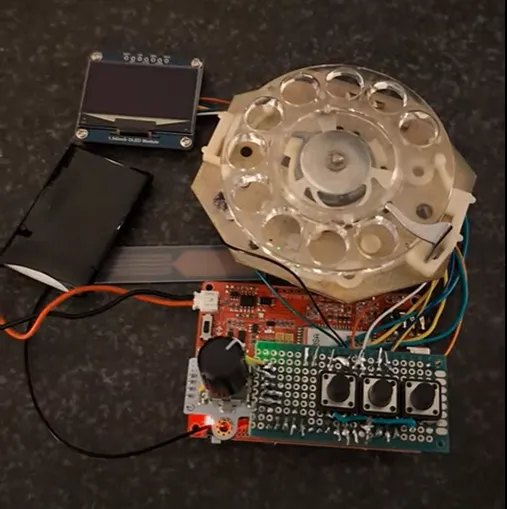
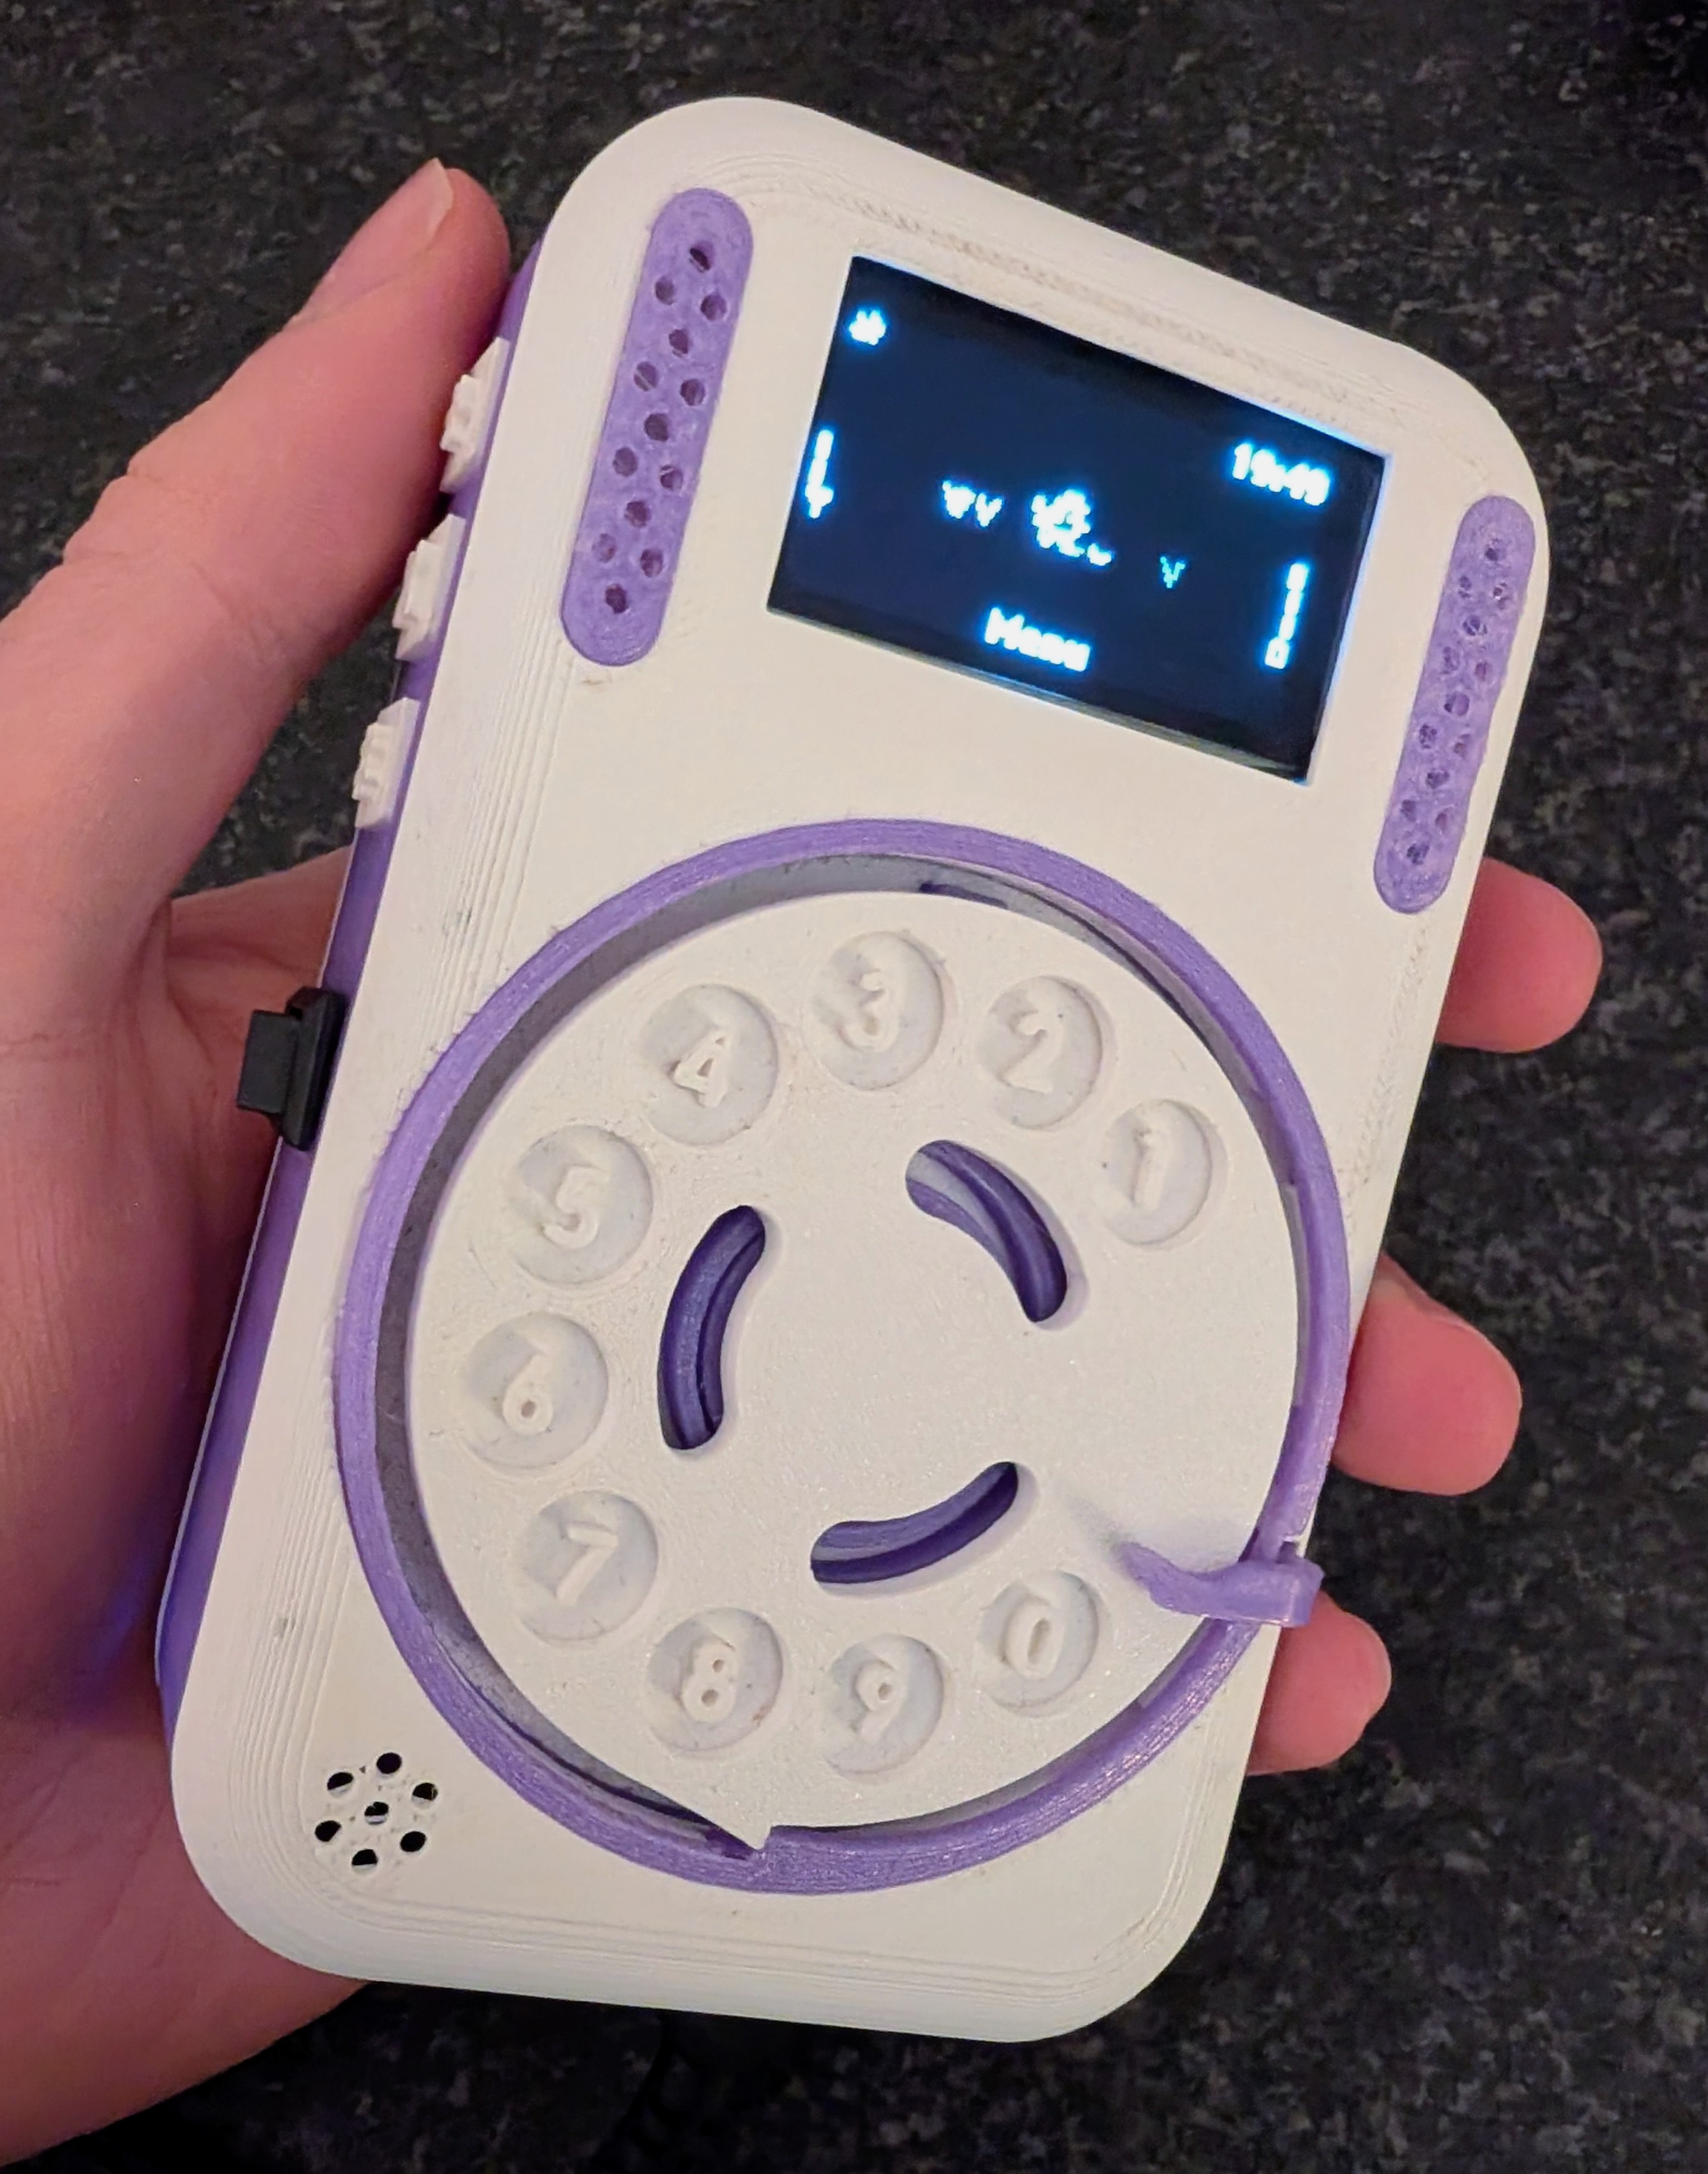
I took a few years break after the previous version, as the modem I used in the phones (operating on a 3G network), was about to expire. Late in the summer of 2025, I found a new modem by Makerfabs, which had an Arduino and SIMCOM 7600 (a 4G modem!) on the same board, so I had a longing to build the next iteration, trying to focus on making it as small as possible, so it would be more practical in the real world! Having the arduino and modem on the same circuit board helped a lot, it meant I didn't need a huge perf board to hold everything today, I just had a little one for some button inputs. Other than the dial and OLED screen, the only other hardware is three buttons, and a rotary encoder (which also has a button of its own), to get a full 16 inputs like a Nokia phone. The interface of this phone is greatly inspired by the Nokia 3310, and borrows some pictures, fonts, and animations!
I took a lot of care to measure everything (using actual calipers this time!!) to ensure the case was as compact as possible, while still being sturdy. Once I got everything together, and after some trial and error, I got everything put together beautifully!
A 3D model of the case I made in Blender (this version happened JUST before I learned Solidworks) is shown below!
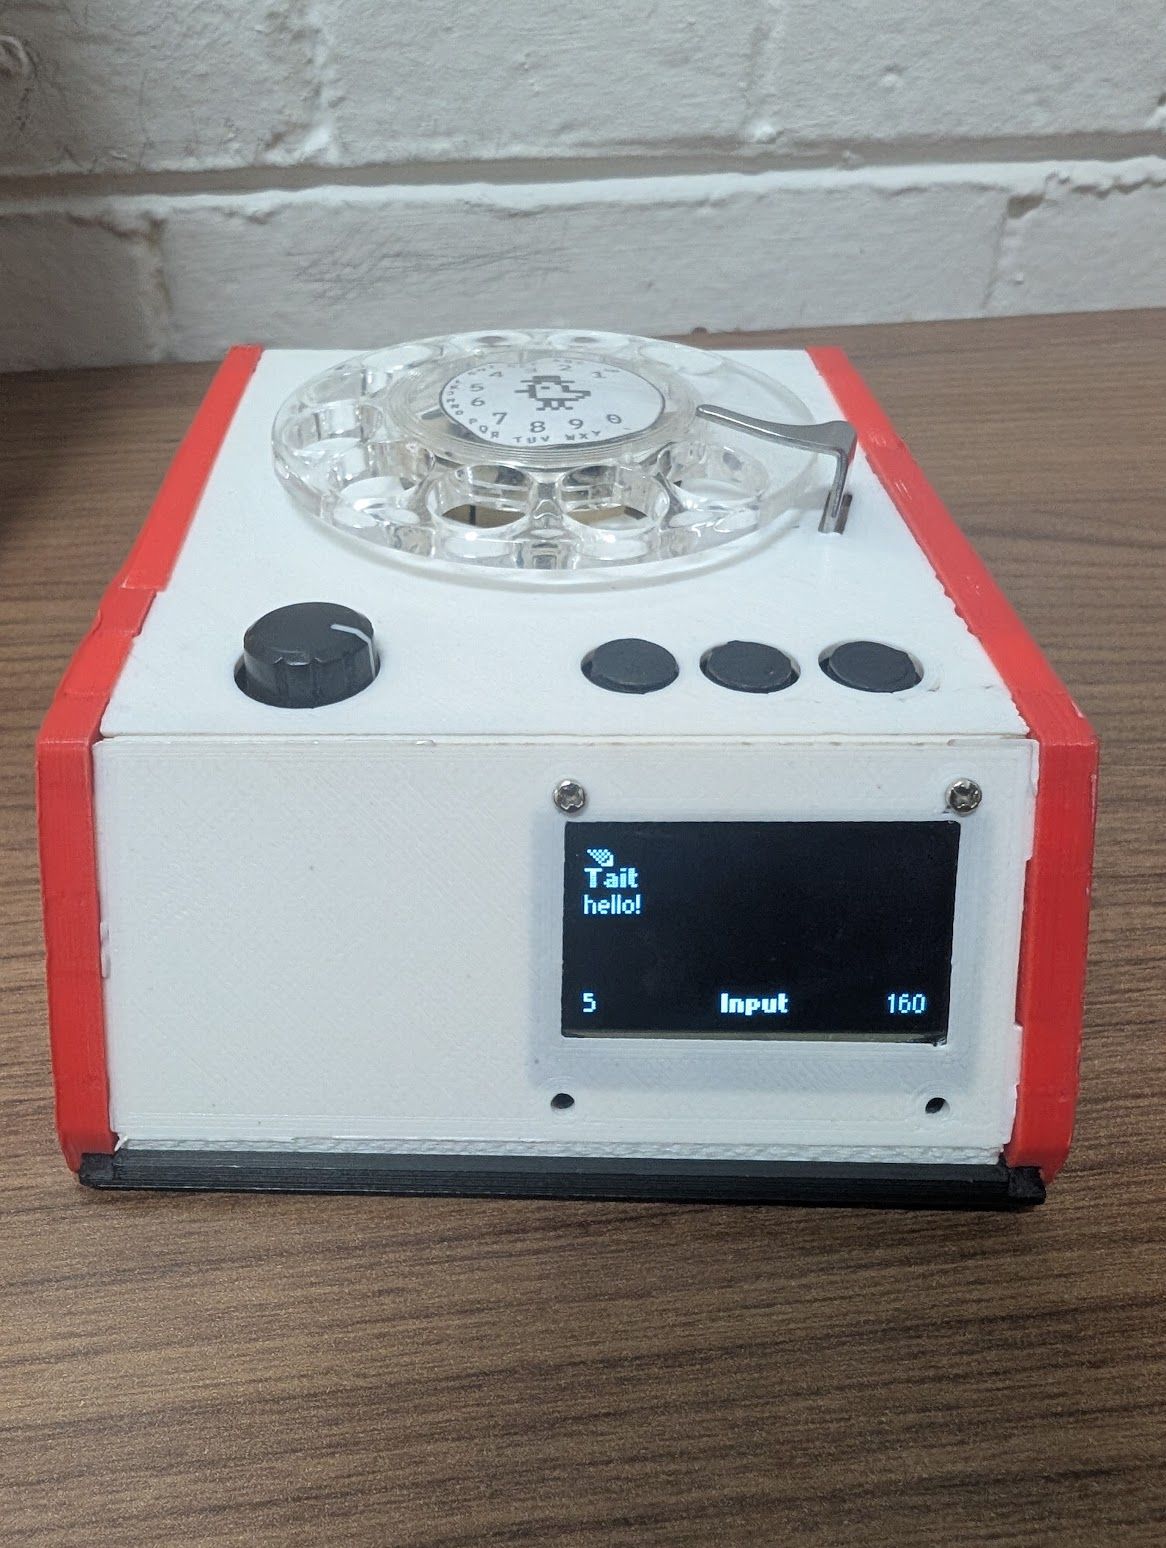
Features of this version include the regular calling, but I could also reply to text messages, using predictive T9 typing inspired by the work by Guy Dupont and his Standalone T9 Predictive Keyboard, which I translated from Python into C++, but using the same library files.
There is also a pretty robust web server for adding social media messaging support (right now only Instagram & Whatsapp), by running a puppeteer browser instance and listening for messages, before sending them to the cell phone. In addition, also via the web server, there is support for accepting Duo Push authorizations, and unlocking the front door of my apartment building!
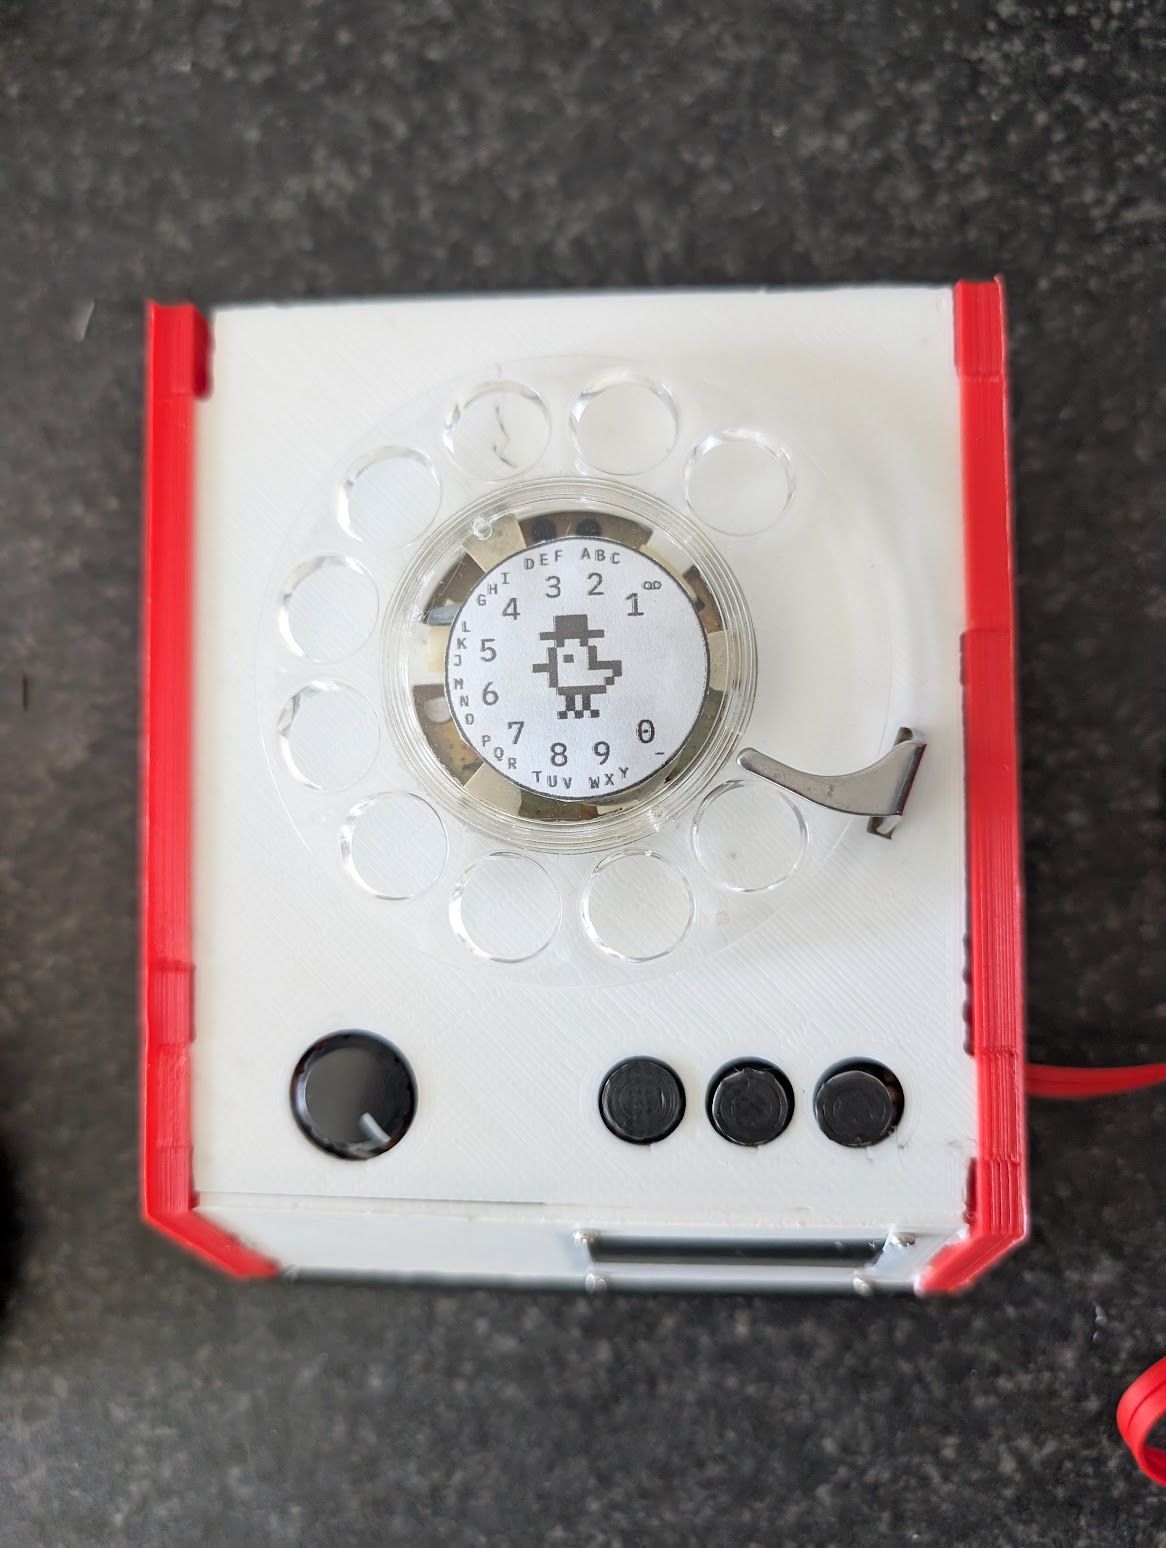
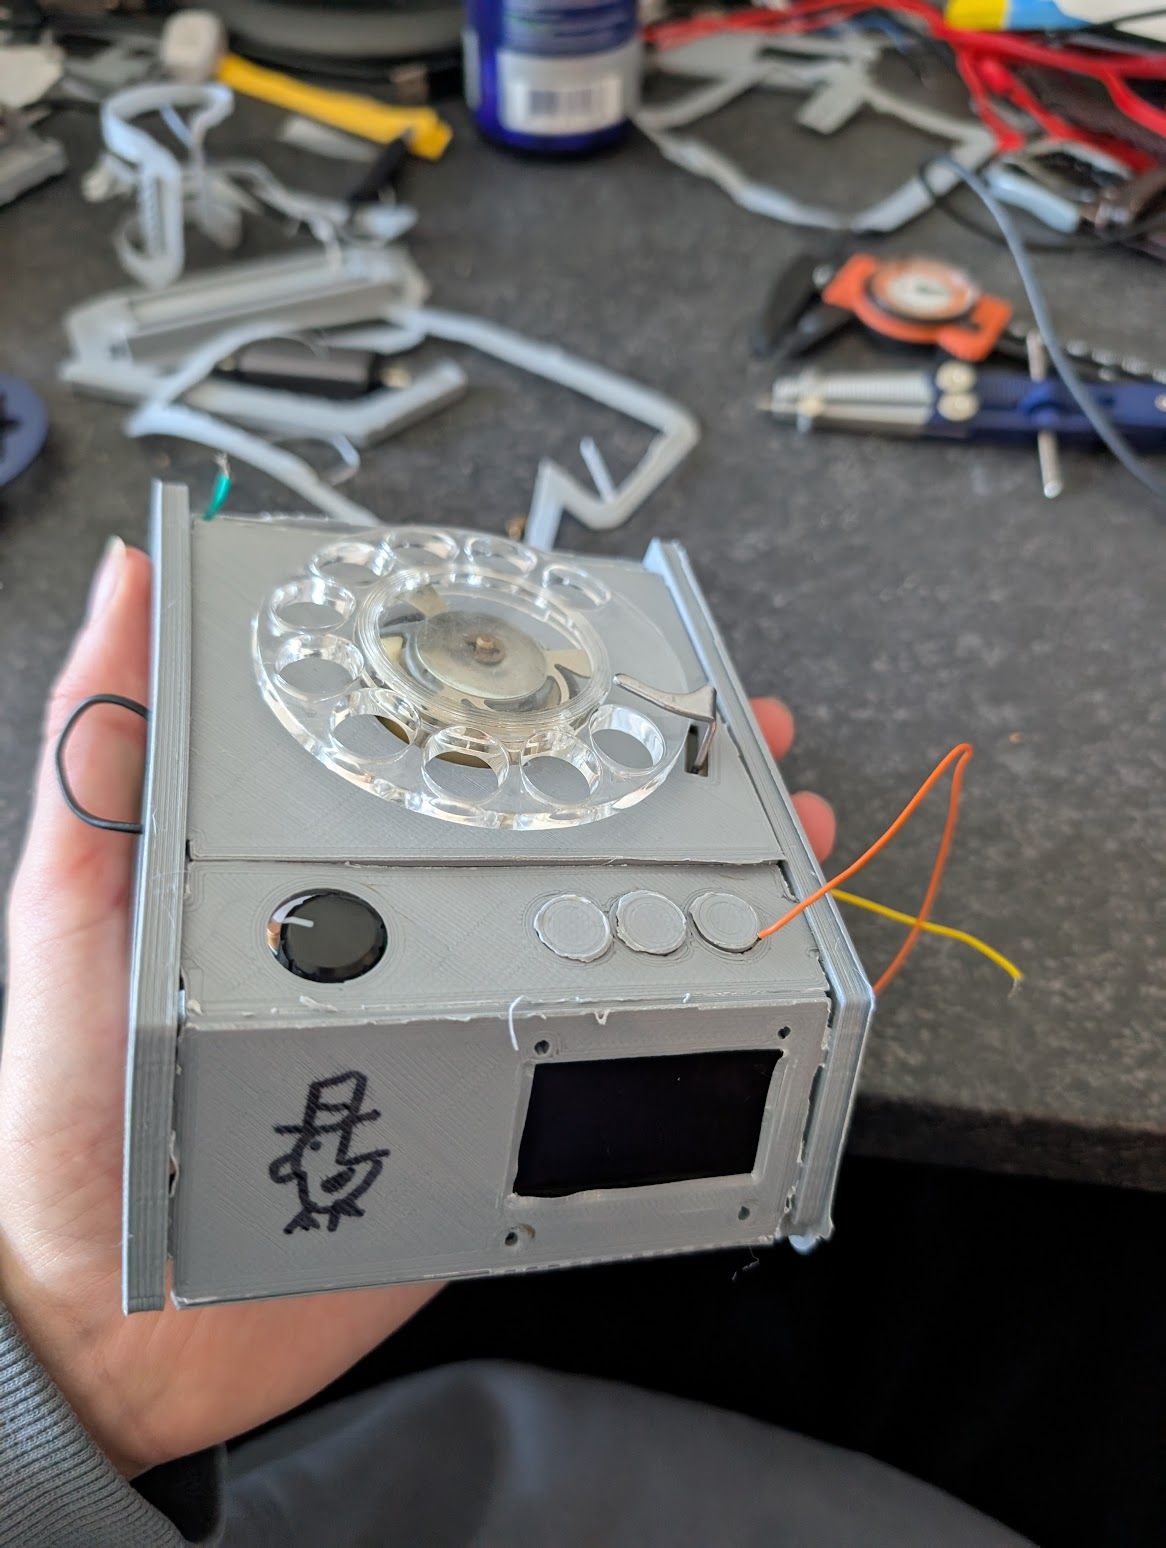
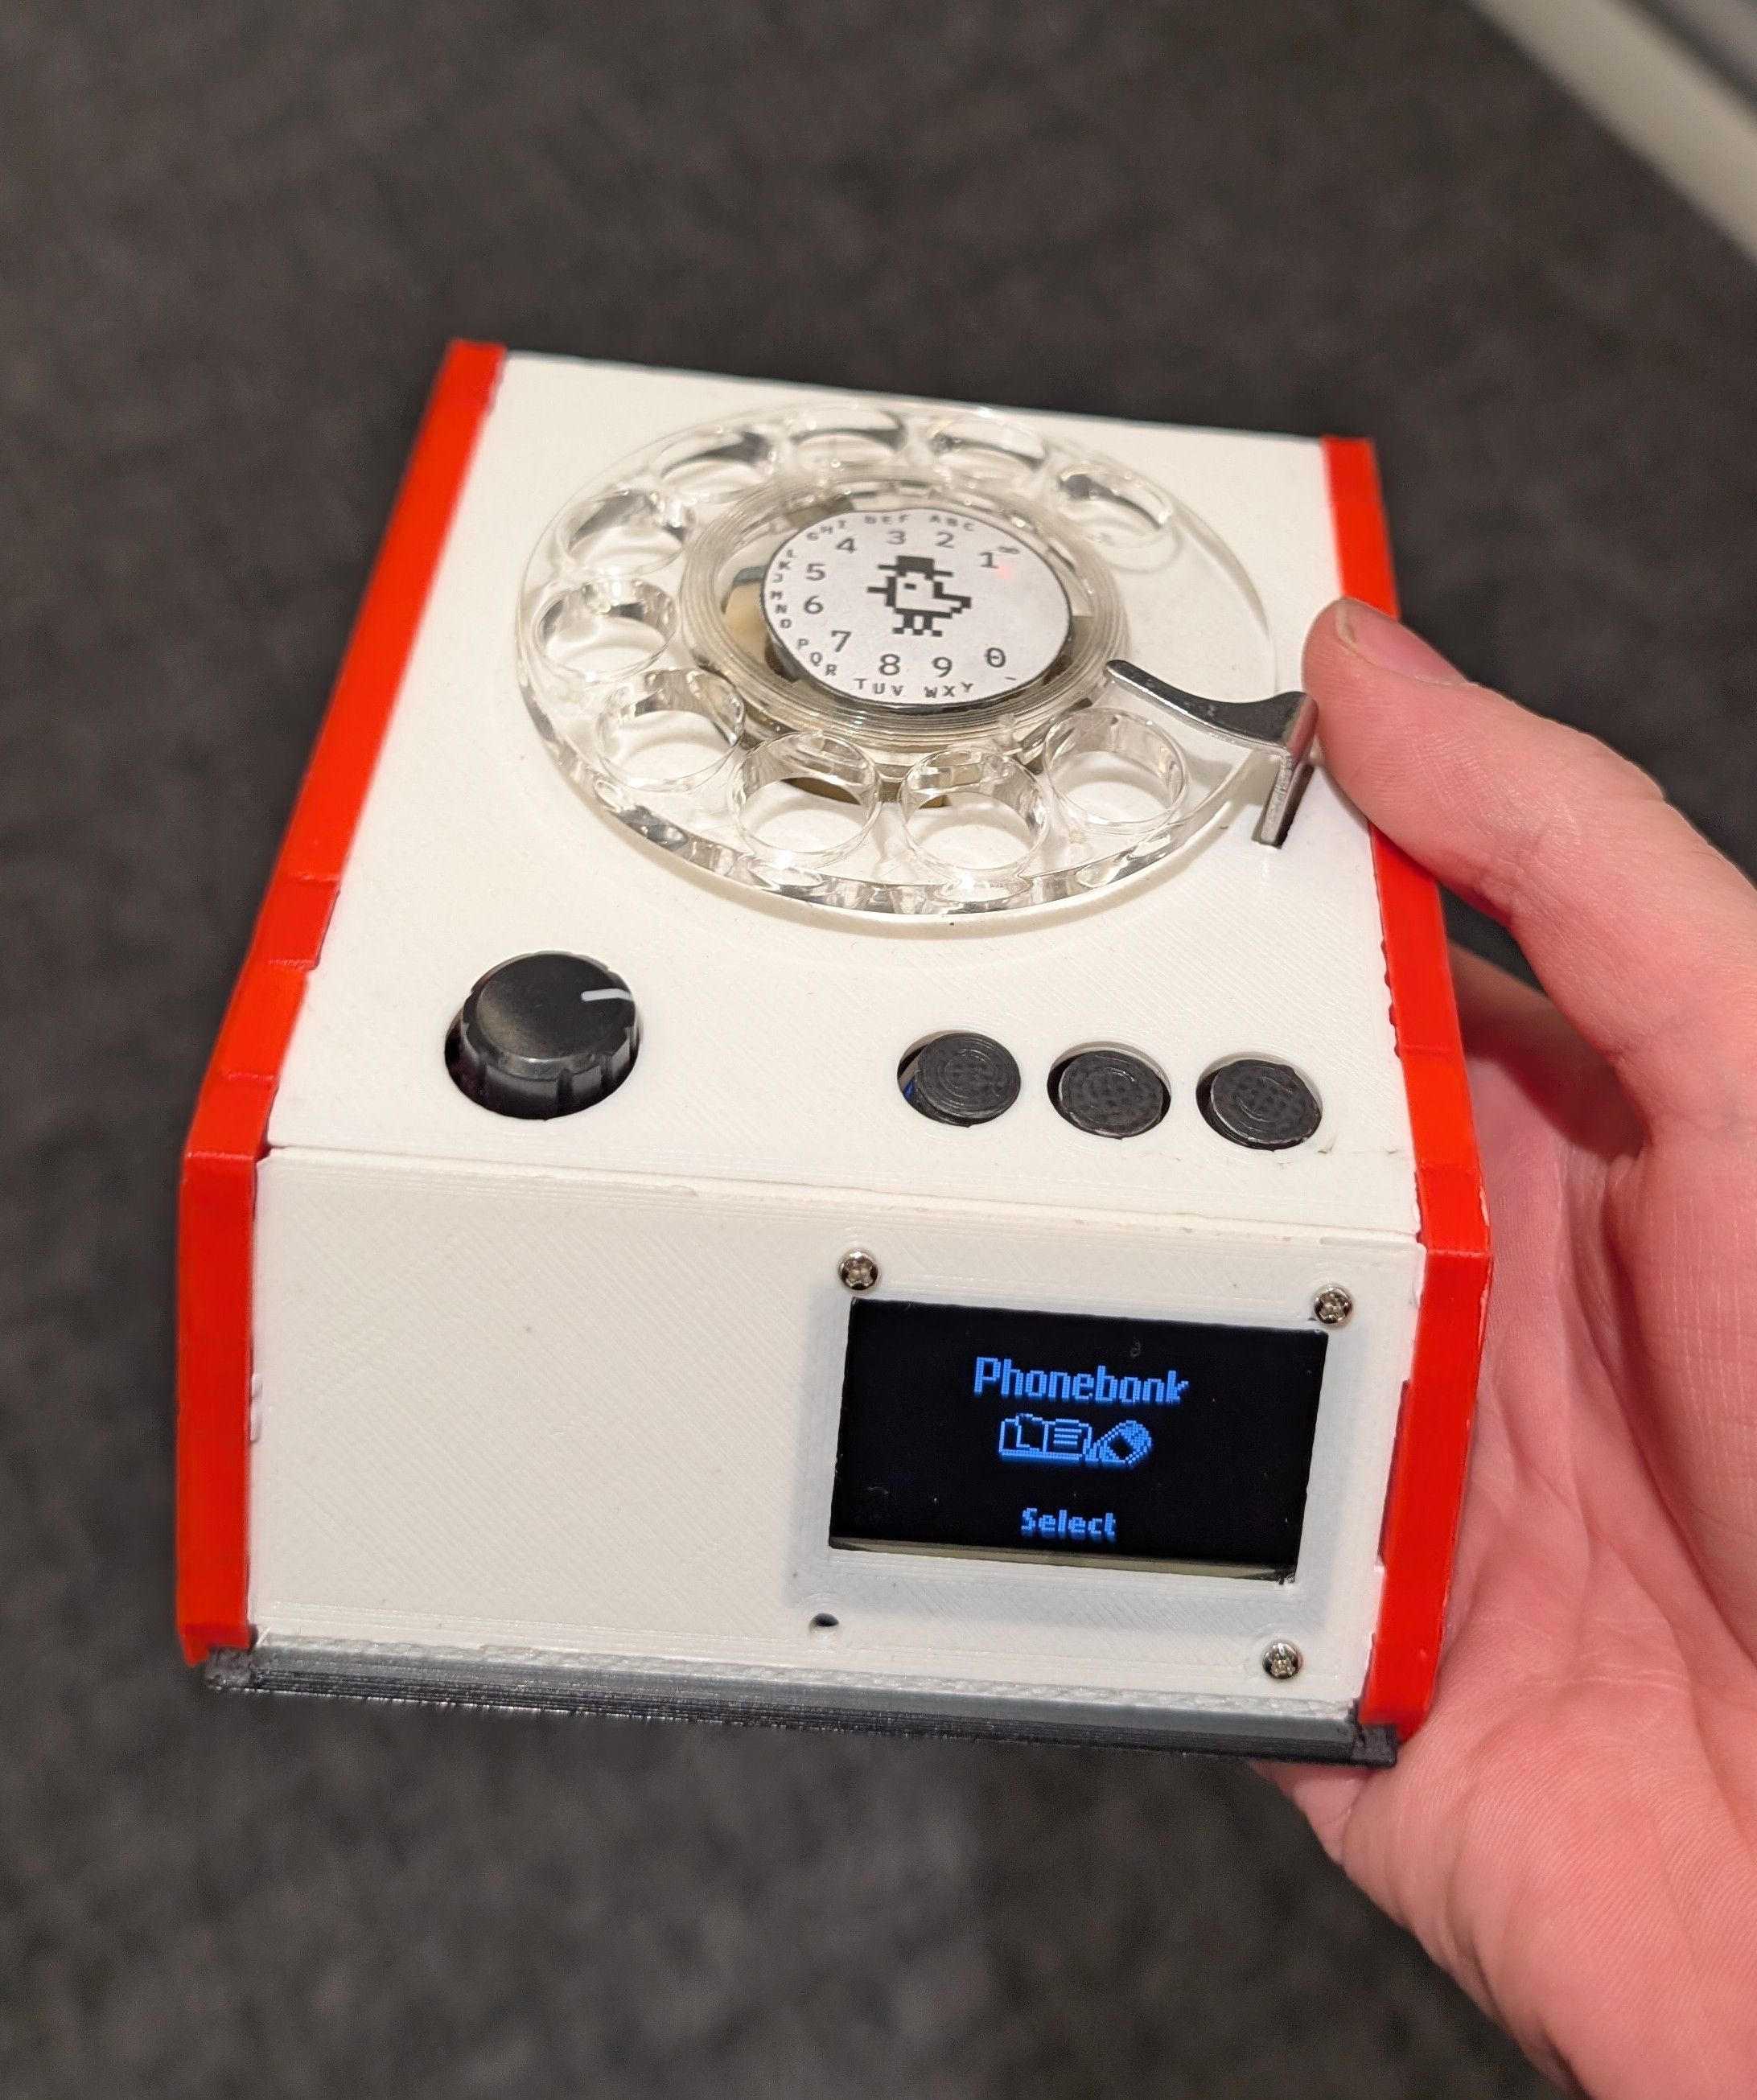
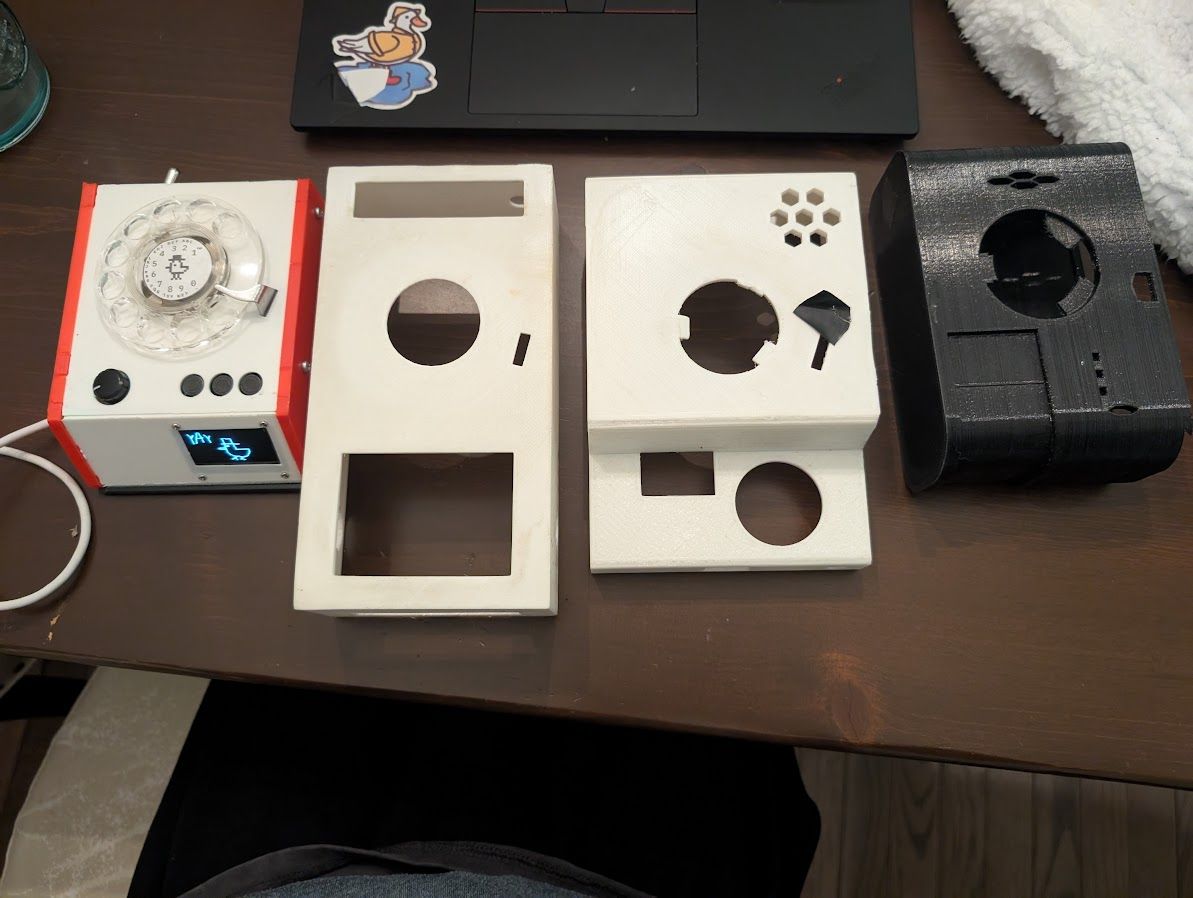
Through my many revisions, I had gotten the rotary dial cell phone down to a size I am much happier , compared to the previous versions, even though it is still quite big... Here is a comparison of the cases, with the latest on the left, and the oldest (version two, version one didn't have a case) on the right!
At this point you have to wonder if I am addicted to making these phones, and maybe I am! I loved using my fifth version of the phone during the winter, when I had a winter coat with a big enough pocket to hold it, but when spring came around I realized it is still super impractical. In addition, I worked during the summer of 2026, and I didn't want to have to try and text people on a phone that couldn't accept group messages or images, so I switch back to a real Android phone for the time being. But I kept thinking... and thinking and thinking about this project! And at this point I was a lot more comfortable using Solidworks, and I wanted to try and give a proper design in an engineering software like Solidworks an attempt, so I went back in for design six!
I was happy with the software/interface and the Maduino circuit board from version five, so I kept them both. The big problem that was still bothering me was the size, and the main cause of the phone's size before was the big rotary dial I had used in every previous version, so using my newly developed Solidworks skills, I decided to give designing my own dial a shot!
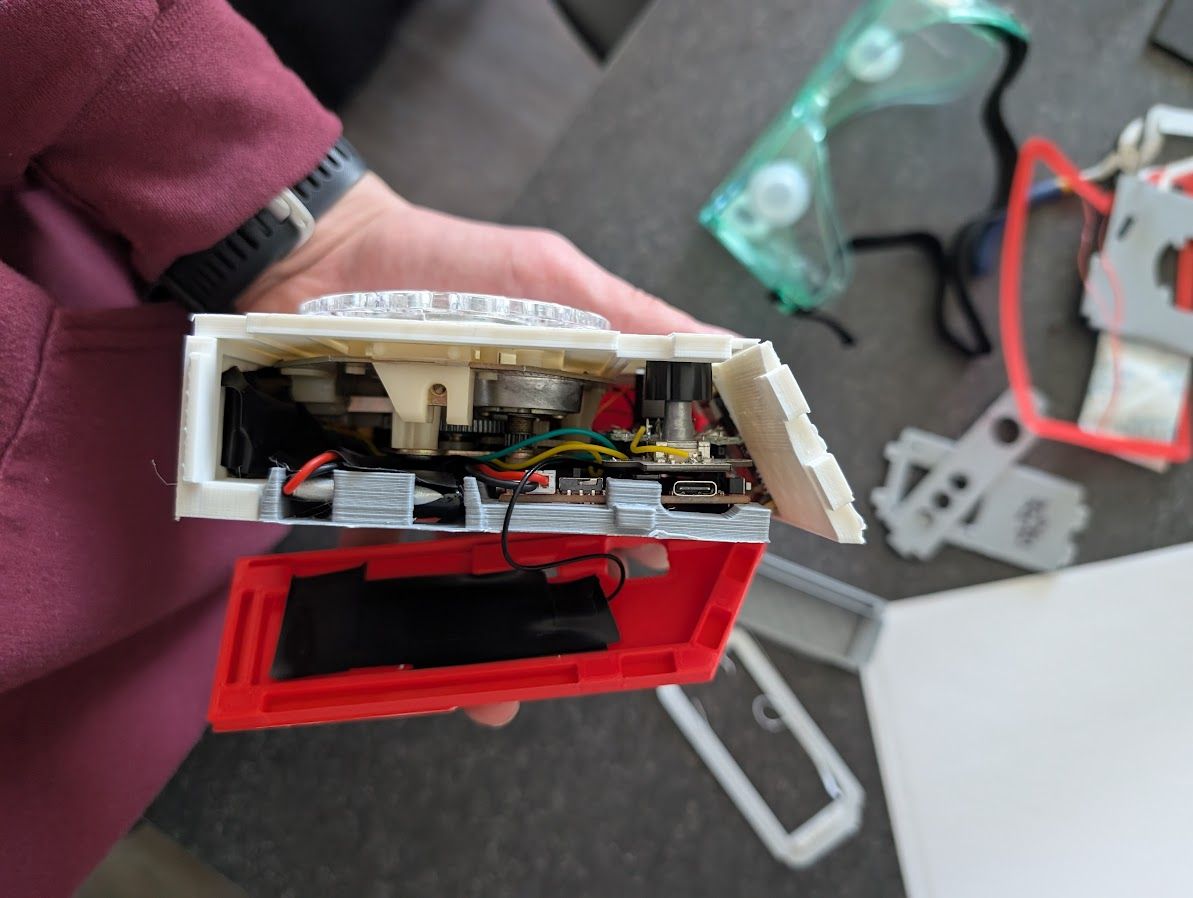
Overall the design is a lot more intricate thanks to the previous ones, and it fits nicely into any of my pant pockets which is a win! You can check out the new design's model below!
The design uses a 3D printed dial, with a shaft the runs through a ball bearing to the inside of the phone with a CAM attached. As the CAM rotates, two microswitches follow the rotation to track the dial's motion. One microswitch tracks whether the dial is moving at all, and if so, the other counts each number. Normally, a regular rotary dial spins back slowly and only counts the numbers on the return, but for mine I wanted it to spin back as fast as possible to increase input speed (especially for texting!!), so I didn't want to try and read the numbers as it spins back in less than a second. In my case, the finger stop has a push button attached, so you just have to keep spinning your finger into the finger stop until it clicks to submit the number! The spring is also printed, but in PETG instead of PLA which I normally use, as PETG has better properties and will keep its shape and want to spring back.
While the base of the software is the same as the previous generation, quite a few new features have been added!
- MMS (multi-media service) support to accept group text messages & messages with photos! Photos get saved to the web server & emailed to me to be view in full!
- A Slack client (which we use for Blue Sky Solar Racing, hence the solar car icon!)
- A clock app to set timers, a stopwatch, and alarms!
- A graphing calculator powered by tinyexpr
- A TTC (the transit system in Toronto) bus & subway live tracker
- A weather app
- And a little web browser!
The design improvements can be seen in the model below, I love how much smaller and more detailed version six is compared to the previous one!
This project took a lot of research, and a lot of iteration to get to a point where I was happy with the design! It shows I have the dedication to stick with a project and the motivation to learn new things!